
Never give up on your dreams, always keep sleepin'.
Joined September 2022
- Tweets 10,330
- Following 777
- Followers 853
- Likes 22,348
656 Photos and videos


Pinned Tweet

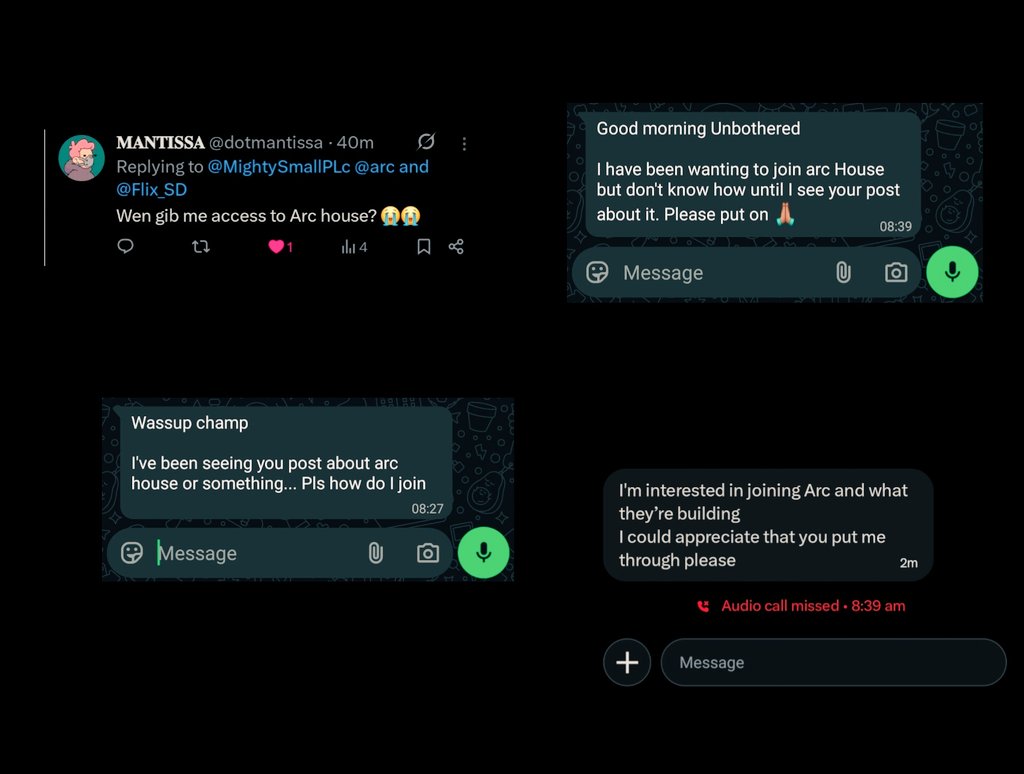
For those exploring @arc House, or looking to join?
This walkthrough Video provides a clear guide to navigate the platform and contribute effectively within the ecosystem.
Follow @_Veektory & @MightySmallPLc so won't miss out
How to join DC Video link: x.com/_veektory/status/20465…
Apr 25

Episode 3:
Today I talked about the @arc House
how well to properly explore and contribute on arc house as a newbie.
To the people just joining, this will surely help a whole lot.
@silencexlm @samconnerone
Looking forward to see y’all on arc house.
10
1
56
1,429

Unbothered PLc (❖,❖) retweeted

Jun 12
Fable 5 shipped this week as Anthropic's most capable public model. It also routes any prompt its classifiers tag as bio, chem, or cyber to a fallback model — and devs are already hitting it on basic engineering and inference questions.
We at Ritual feel conditional access to breakthrough capabilities is antithetical to the democratization of technological progress.
111
122
320
18,175

XyloNet is building stablecoin DeFi and social tipping on Arc Testnet.
Built by ForgeLabs, @Xylonet_ brings together:
→ Stablecoin swaps for USDC and EURC
→ Liquidity pools
→ CCTP V2 bridging
→ ERC-4626 vaults
Alongside XyloNet, PayX adds a consumer payment flow that lets users send USDC tips (which are held in smart-contract escrow) to an X handle before the recipient has connected a wallet.
Together, they show how Arc can support both DeFi infrastructure and payment UX on the same stablecoin-native settlement layer.
arc.io/blog/how-xylonet-is-b…
110
134
521
43,903
Unbothered PLc (❖,❖) retweeted

Jun 11
crypto × ai has many narratives
my first choice? @ritualnet
quote, and pass it on 🕯️


17
5
82
6,644
Unbothered PLc (❖,❖) retweeted
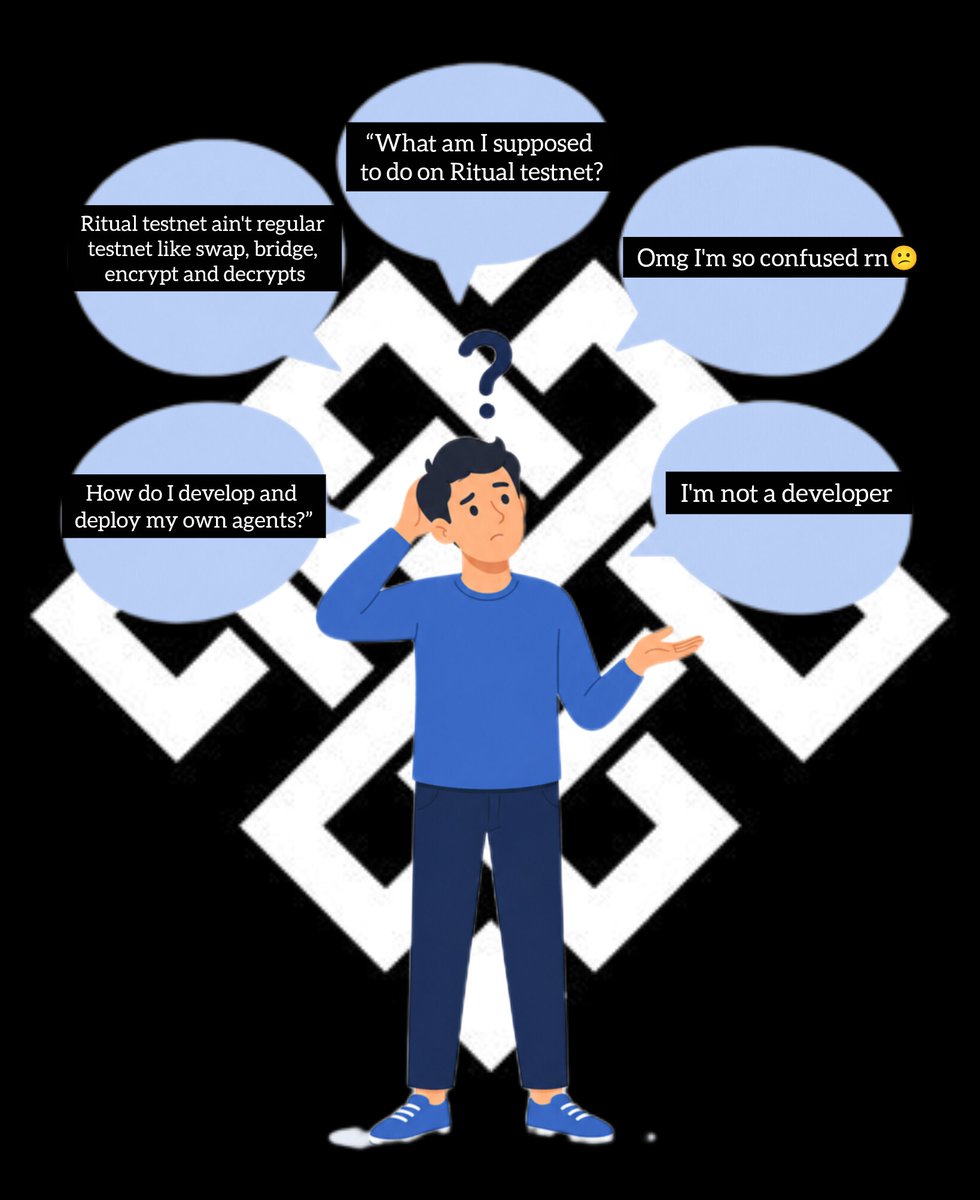
A MUST-READ 🛠⚡
STOP Scrolling. If you're guessing or building on @ritualfnd testnet & you're stuck
this is the guide that actually works
not copy-paste magic. real setup, real explanation, real results.
Follow @ZhugeLyang & turn On notifn
Save this before you need it 🧵👇🏽
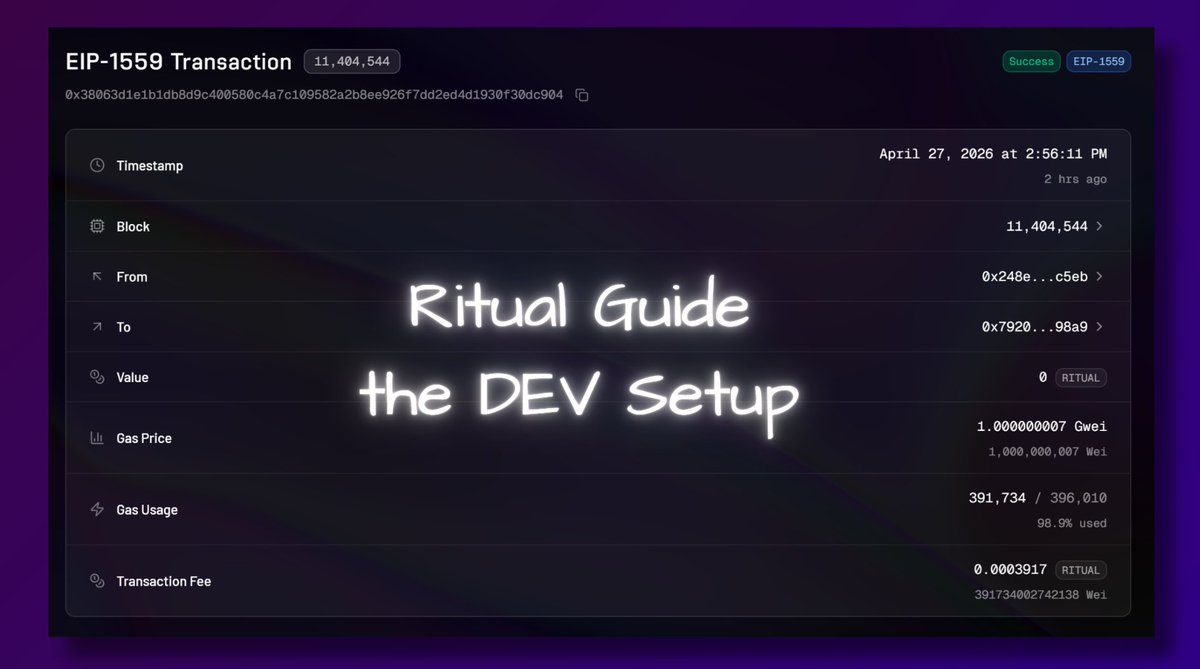
Apr 27

finally an actionable testnet guide for @ritualfnd
this is not a perfect oneshot guide you just copy paste in and win - but it’s a real one that actually works & explains the process
let's start with the DEV setup & how not to get stuck 👇
1/ installing Windows Terminal
- you paste commands here to run your app
- install from Microsoft Store -> Windows Terminal
- you could use default PowerShell, but it's pretty buggy
──────────
2/ install Node.js.
- it let's the computer run JavaScript apps
- download the LTS version
nodejs.org/en/download
open windows terminal
type
node -v
then type
npm -v
if you see versions, you're good
──────────
3/ install Git
- lets you download code repos from GitHub (like ritual skills)
- git-scm.com/install/windows
check in windows terminal again by typing
git --version
──────────
4/ install Codex (from ChatGpt website)
- install Codex CLI
- CLI = AI coding agent we use inside the terminal
- use this command inside terminal
npm install -g @openai/codex
then check version with
codex --version
──────────
5/ you will need to install Metamask
- since it's a testnet I recommend using a new wallet
- you'll also have to use your pivate keys to deploy contracts and that's a bit unsafe with a wallet holding real assets
add Ritual Network to MM
RPC: rpc.ritualfoundation.org
Chain ID: 1979
Currency: RITUAL
don't forget to get tokens from faucet
- you generate access codes from Ritual Discord 🫧ritdrip channel
──────────
6/ install GitBash (you should have this installed automatically after you installed Git)
- Linux-like terminal needed for Foundry install
- we'll need Foundry for smart contracts
──────────
7/ install Foundry using Git Bash NOT Terminal!
- it is the tool for compiling, testing, and deploying smart contracts
- don't use CTRL V, use right click paste
- in gitbash paste this command
curl -L foundry.paradigm.xyz | bash
source ~/.bashrc
foundryup
go back to Windows Terminal again, check Foundry
type
forge --version
if it fails use this command & replace your user
$env:PATH = ";C:\Users\YOUR_USER\.foundry\bin"
──────────
8/ quick stop - if you did everything well until now you should be able to run the following commands
node -v
npm -v
git --version
codex --version
forge --version
if all work, your setup is ready
──────────
9/ create your project folder
-go to Windows Terminal and type
mkdir ritual-app
cd ritual-app
──────────
10/ in the same terminal, install Ritual skills - type
New-Item -ItemType Directory -Force .codex\skills
git clone github.com/ritual-foundation… .codex\skills\ritual-dapp-skills
this puts skills inside your project
now start Codex (still in the same folder)
- simply type in
codex
after codex opens type in this
Read the file .codex/skills/ritual-dapp-skills/skills/ritual/SKILL.md and follow its instructions.
Wallet: 0xYOUR_FUNDED_WALLET_ADDRESS
Description:
write your app idea here
──────────
DISCLAIMER
this guide is for Windows users
we’re working on a testnet → use a separate wallet (no real funds)
you will handle private keys locally → never share them
expect some friction, that’s part of the process
this guide won’t be perfect, but it will get you in the right direction
debugging using ChatGPT is part of the process
this thread only covers setup how to get started
in the next one, I’ll show:
→ how to use Ritual skills properly
→ how to go from idea → working app
→ how to send your first on-chain tx
ONWARD!
40
1
70
1,068
Unbothered PLc (❖,❖) retweeted

Jun 11
This is Send Am
Send Am is a stablecoin-native app built on Arc that allows individuals & businesses in Nigeria to receive USDC from anywhere in the world and settle directly into their local bank accounts
Check this video on how it works
@silencexlm
sendamapp.vercel.app/
Jun 11

You’re Nigerian?
A client sends USDC
A family member abroad sends USDC
Your creator payout arrives in USDC
Instead of figuring out what to do next, just Send Am.
Convert and withdraw directly to your naira account.
Simple.
Receive globally. Settle locally.
Built on @arc
19
8
76
1,597
Boream & Boredley paused for pink sprinkle donuts.
The old financial system pauses for banking hours, settlement windows, FX delays, and manual approvals.
Arc is built for what should not have to wait:
→ 24/7 onchain FX
→ Stablecoin-native payments
→ Sub-second finality
48
108
360
8,912
Unbothered PLc (❖,❖) retweeted

Jun 11
The first series of Arc Community-run meetups for the Nigerian Regional Chapter 🇳🇬 is currently live.
These meetups are curated to support and connect builders, creators, and Architects, drive meaningful conversations and build stronger connections in person.
Register in @arc house NOW:
June 20th | Build Club : community.arc.io/public/club…
June 26th | Region Kickoff Mixer: community.arc.io/public/club…
#BuildOnArc
34
30
116
2,702
Unbothered PLc (❖,❖) retweeted
Jun 11
You’re Nigerian?
A client sends USDC
A family member abroad sends USDC
Your creator payout arrives in USDC
Instead of figuring out what to do next, just Send Am.
Convert and withdraw directly to your naira account.
Simple.
Receive globally. Settle locally.
Built on @arc
36
4
76
3,303
Unbothered PLc (❖,❖) retweeted
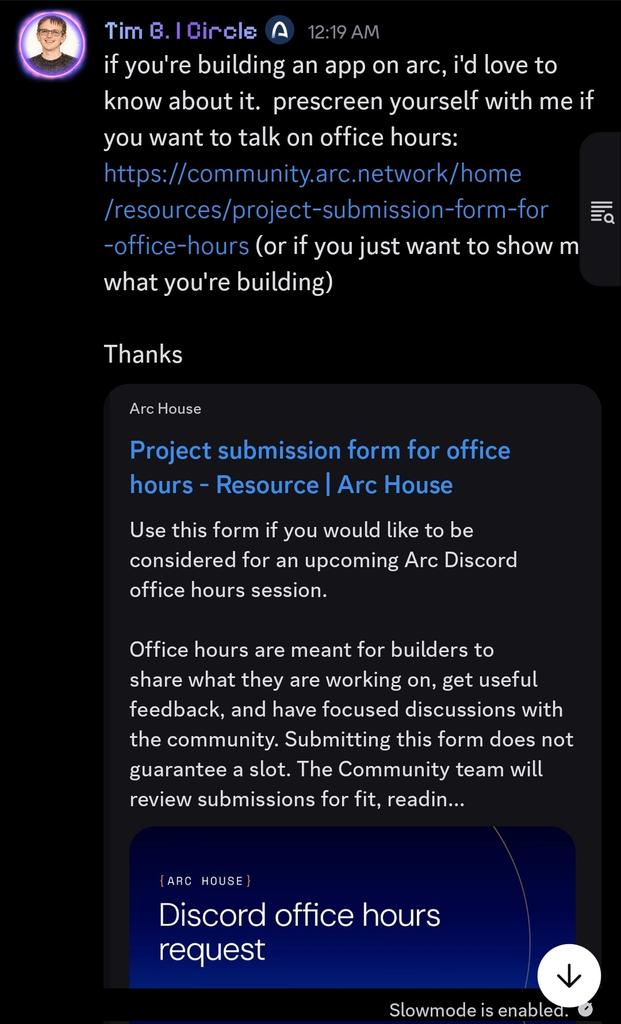
Build On Arc 🏗
I’ve been seeing a strong wave of enthusiasm across the community lately.🥰
➥ For new builders 👷♂️ asking how to gain more visibility within the ecosystem: if you’re building an application on Arc, the team would genuinely love to hear about it.

12
1
26
360
Unbothered PLc (❖,❖) retweeted

Jun 10
25
9
42
1,647
Unbothered PLc (❖,❖) retweeted

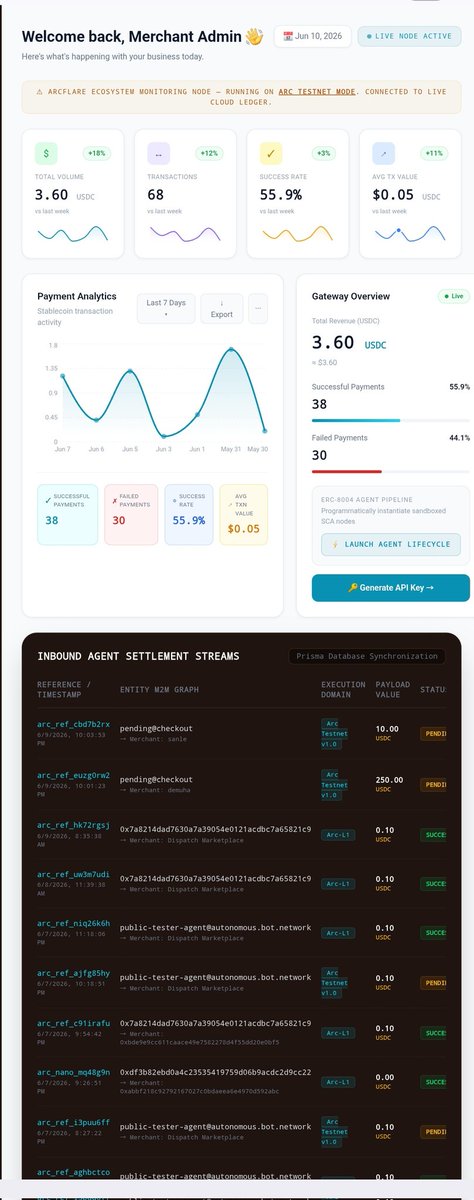
Jun 10
@Arc_flare Week 4 🔥
This week, I turned an idea into live infrastructure.
Started with simple <stablecoins > USDC payments. Now, agents can pay other agents autonomously powered by the @Circle agent stack
Integrated:
cross-chain routing (CCTP V2), real-time payment tracking, merchant dashboard
streaming payments, and nanopayments.
All working together......
Running too:
• 3 smart contracts deployed
• 5 payment systems live on testnet
ArcFlare is no longer just a concept.
It's running.
What's shipping next?
Built on @Arc.
@silencexlm

19
4
57
575
Unbothered PLc (❖,❖) retweeted

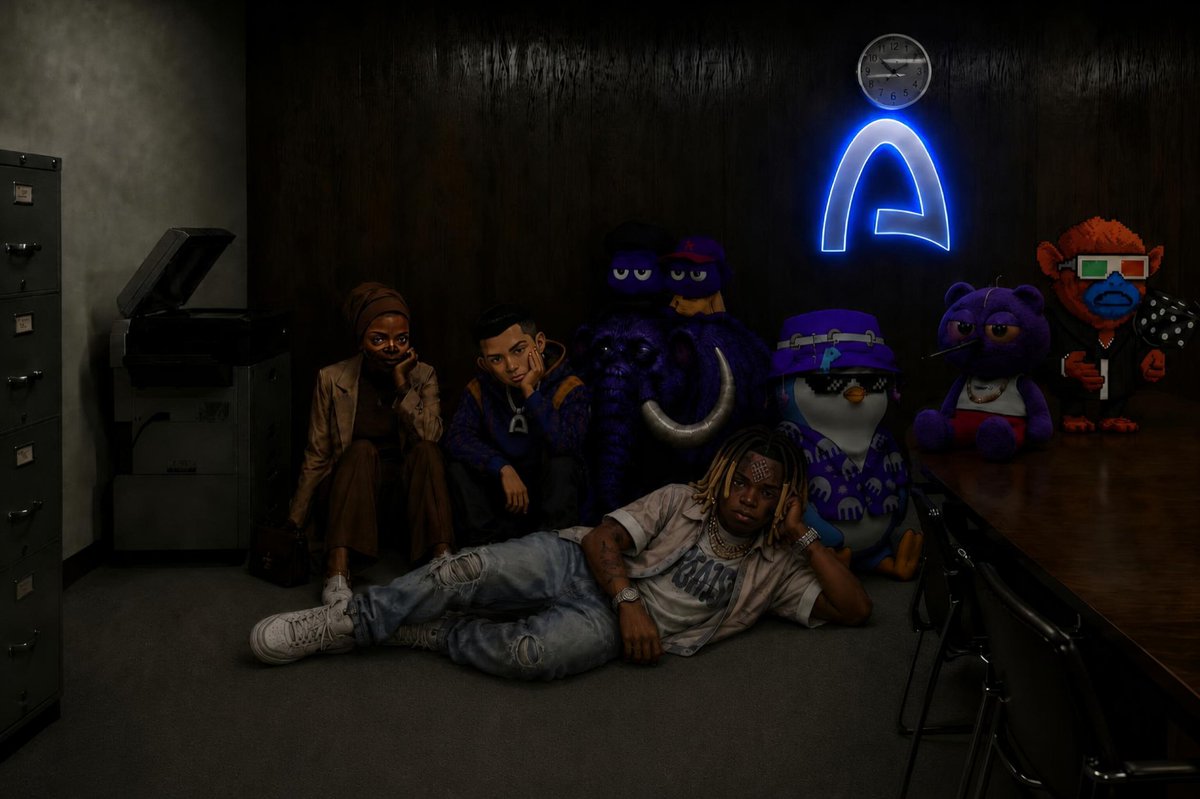
And that’s a wrap!!!!
This was so much fun! Thank you all for joining us on this experimental journey.
103
50
394
9,153
Unbothered PLc (❖,❖) retweeted
Who's going to make the best X reaction video to The Bored Room???

The Bored Room is officially live.
Join us and watch this absurd event about the absurdity of old financial rails. x.com/i/broadcasts/1wxWjjvBX…
14
5
65
2,124
Since 06/09/26 at 8:00 AM PST, the livestream has felt like a parody of a reality we've all accepted for far too long, in a world where messages, videos, and information travel globally in seconds, moving money can still mean waiting days, dealing with intermediaries, and hoping
The Bored Room is officially live.
Join us and watch this absurd event about the absurdity of old financial rails. x.com/i/broadcasts/1wxWjjvBX…
6
2
12
196
infrastructure built for a different era, one that has struggled to keep pace with the speed and expectations of the internet age.
At its core, the stream highlights the growing disconnect between modern technology and legacy financial systems, making a strong case for a future
1
2
36
where money moves as freely and instantly as information.
🌚🪑📋
#TheBoredRoom
》To be continued...
2
35
Unbothered PLc (❖,❖) retweeted

while im bored...im adding the new LAGOS meetups into arc house 👀
111
16
196
6,346
The Bored Room is officially live.
Join us and watch this absurd event about the absurdity of old financial rails. x.com/i/broadcasts/1wxWjjvBX…
214
395
1,236
4,891,042