
AI Video Creator | VFX Artist
Joined December 2025
- Tweets 891
- Following 278
- Followers 187
- Likes 859
303 Photos and videos


Pinned Tweet

Feb 10
Kling 3.0 — Strong Prompt Adherence (Ad/Test)
This piece was built around a structured storyboard with a clear message to convey.
The goal was to explore how far intentional direction can be pushed by testing key features — multishot consistency, elements control, character consistency, realism, and narrative continuity — forcing the model to do what we ask, not what it is most comfortable doing.
Created as part of the Kling Creator Program, this project was designed to return practical, production-level feedback to the model and its developers.
Key takeaways:
- Pre-conceived ideas may clash with a model’s actual capabilities.
- Pushing against a model’s weaknesses (for example, complex portal entry shots) quickly degrades quality.
- Clear, pre-defined messages can be conveyed with the right structure.
- Kling generation times are currently high.
- Strong model overall, especially for controlled narrative work.
More experiments coming.
@Kling_ai #Kling3 #GenerativeAI #AIAdvertising
2
1
13
2,258
Apr 22
Just out of another AI meeting in the VFX Studio - They are on to it.
1
35
Viral Prompter retweeted

Apr 7
Introducing Project Glasswing: an urgent initiative to help secure the world’s most critical software.
It’s powered by our newest frontier model, Claude Mythos Preview, which can find software vulnerabilities better than all but the most skilled humans.
anthropic.com/glasswing
1,985
6,646
44,009
31,425,259

We see our home planet as a whole, lit up in spectacular blues and browns. A green aurora even lights up the atmosphere. That's us, together, watching as our astronauts make their journey to the Moon.

ALT A full disk image of Earth, as seen from the Orion capsule. The planet is a pale blue, swirling with white clouds and glowing slightly lighter blue in place from reflected light. From about 8 to 9 o'clock, a large brown landmass is Africa, with the Iberian peninsula twinkling with lights just where the planet curves. At the 1 o'clock spot, aurora glow in a thin green glow, just barely separated from the planet's surface. Earth is set against the black of space. Credit: NASA/Reid Weisman
4,692
65,723
311,775
77,294,578
Mar 17
Open VS Closed Source.
LTX 2.3 CEO explains the difference.
Which one will the VFX industry pick?
Cheers

167
Mar 17
Thanks for the shoutout @hyppi4u (Don't Panic)! Happy to have added some value.
Creating tutorials and sharing ideas with no expectations can sometimes surprise you!
Let's keep creating 🐵 Cheers
Mar 17

Step 2:
Flesh Out Your Characters
Now that you’ve got your story outline locked in, it’s time to breathe life into the people (or fae!) who make it tick. This step is all about creating “character cards”, quick profiles that help you visualize and stay consistent when prompting Grok Imagine for images.
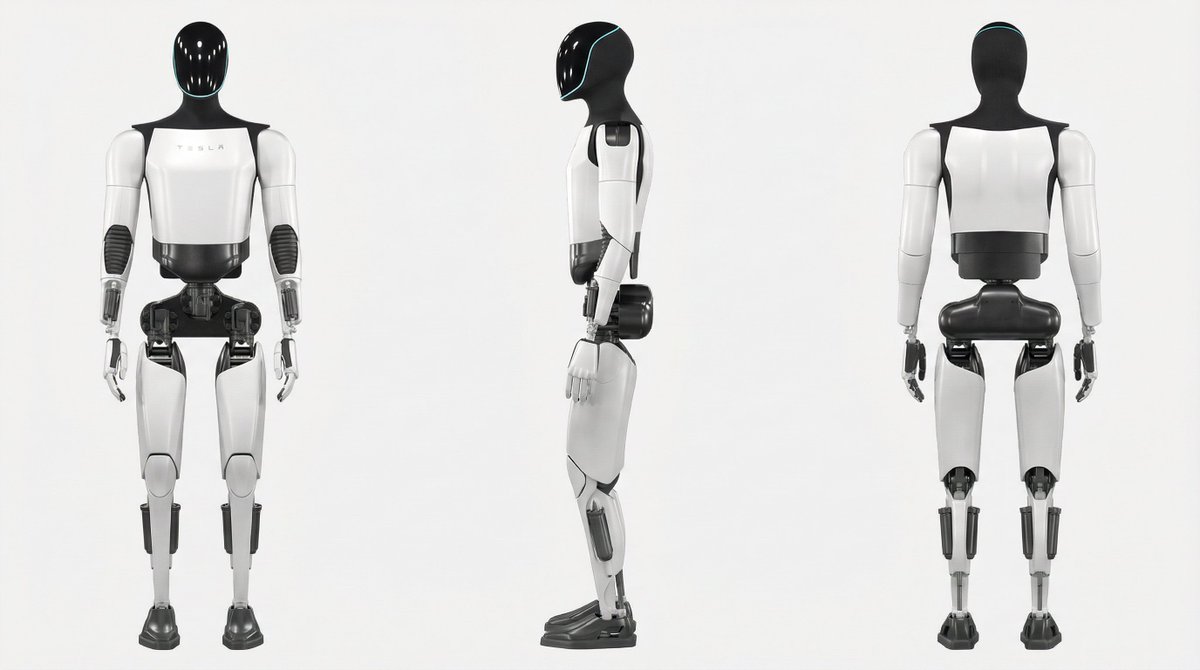
I got this tip from @ViralPrompter, and it’s a game-changer: Generate headshots, full-body views (front, back, side), and maybe some action poses to keep looks uniform across scenes.
Add a concise description, plus a bit of backstory, strengths, and flaws, it helps you imagine how they’ll react in tough spots and adds depth without overcomplicating things.
Why bother? Consistent characters make your story feel real and immersive. For visuals, use prompts like
Before I was making just one green screen shot to start each render with, and putting a detailed description in each prompt.. the character card saves a pile of prompting.
“A headshot of [character] against a plain gray background, semi-realistic style with fairy-tale vibes.”
This makes editing or combining images easier later. Do this for your main 3-5 characters first, then supporting ones as needed. Here’s how I did it for the Elidyr story… feel free to tweak for yours!
1
93
Mar 16
Welcome, Prompter!
If you joined in on the last few posts and you want me to follow you back, drop a message here in the comments. 🐵👇
I'm locked in, vibe-creating, and we're just getting started! 🚀
Let's go!
Tech Stuff:
- Model for this video: LTX 2.3 for lip sync.
- Voice: My own
- Music: Suno
- Logo Animation: Kling 3.0
#LTX2_3 #Kling3 #GenerativeAI #LockedIn
1
3
306
Mar 16
Check out the Grok Imagine techniques and full breakdown of the last video:
x.com/ViralPrompter/status/2…

1
1
135
Mar 16
Have you seen the Grok Imagine Logo Animation? Check out how it was done!
x.com/ViralPrompter/status/2…
98
Mar 14
- Viral Tip -
Always create plenty of images.
When a trend pops up, you are ready to surf!
112
Viral Prompter retweeted
Mar 13
Grok Imagine for the win!
7
8
118
11,779
Mar 12
Grok Imagine - Reference-to-Video
We are Vibe Creating here 🐵🎶
A giant step up in functionality!
Grok just became massively useful, uniting the quality it already had with consistency control across the clip.
Why does it matter?
- Start and End frame control
- Introduction of new elements along the clip
- Start frame not containing the main element
- Camera control
This just turned Grok into a real production tool.
Who else is testing it right now? Drop your first reference combo below 👇
@grok #GrokImagine #ReferenceToVideo
1
5
3,322
Mar 12
Here are a few images generated for the clip.
The brainstorm for the environment, lighting, and camera angles was done with @freepik Spaces.
1
2
340
Mar 12
Grok Imagine – Reference-to-Video
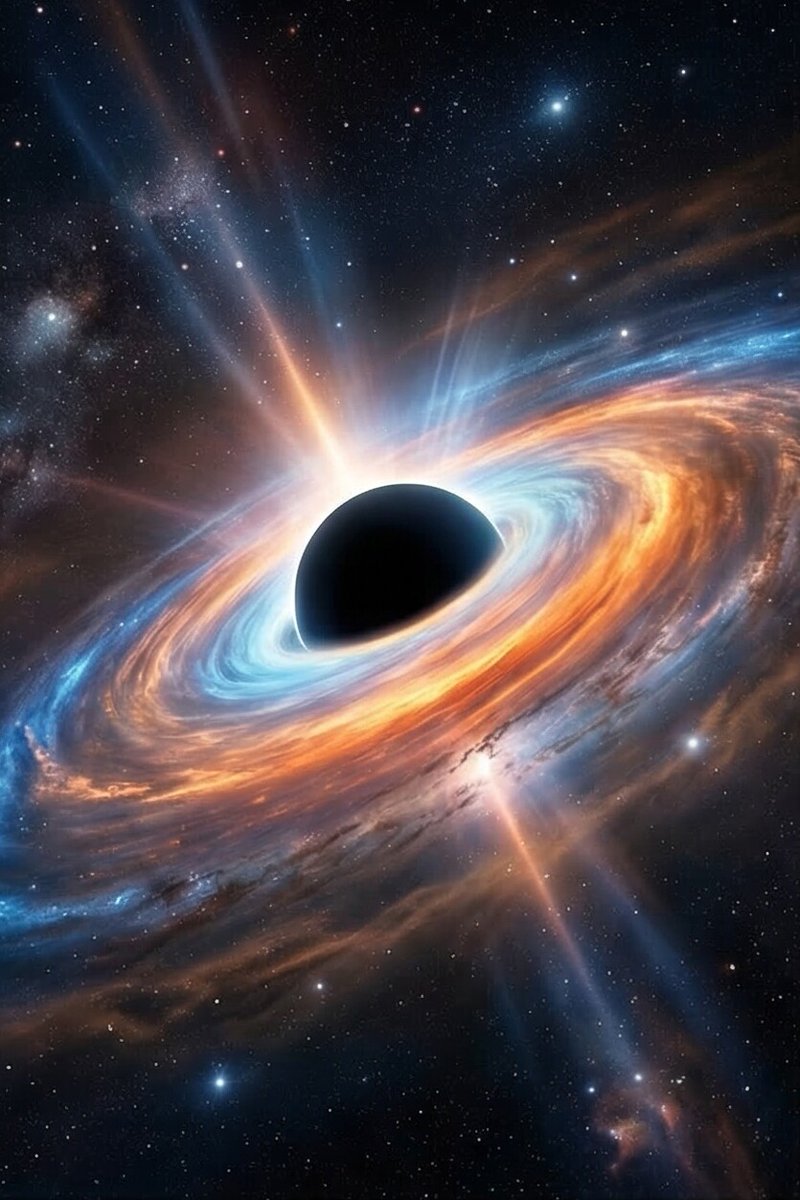
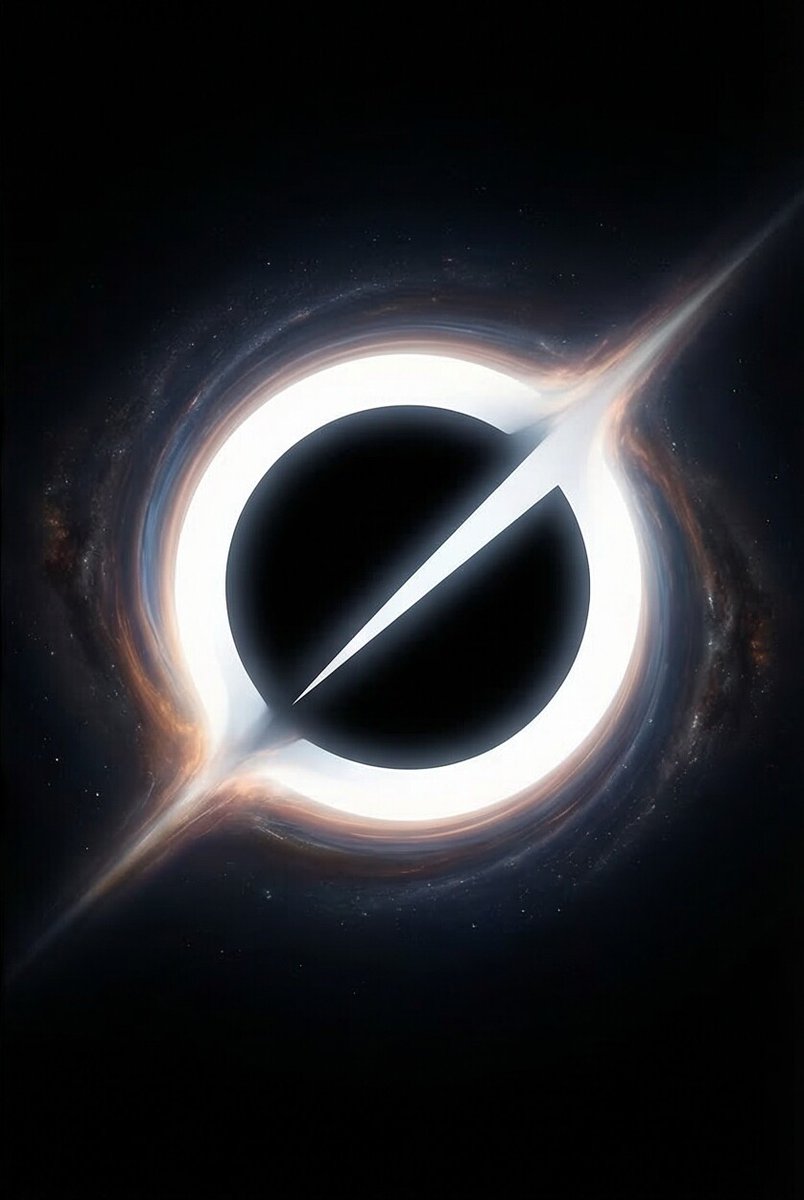
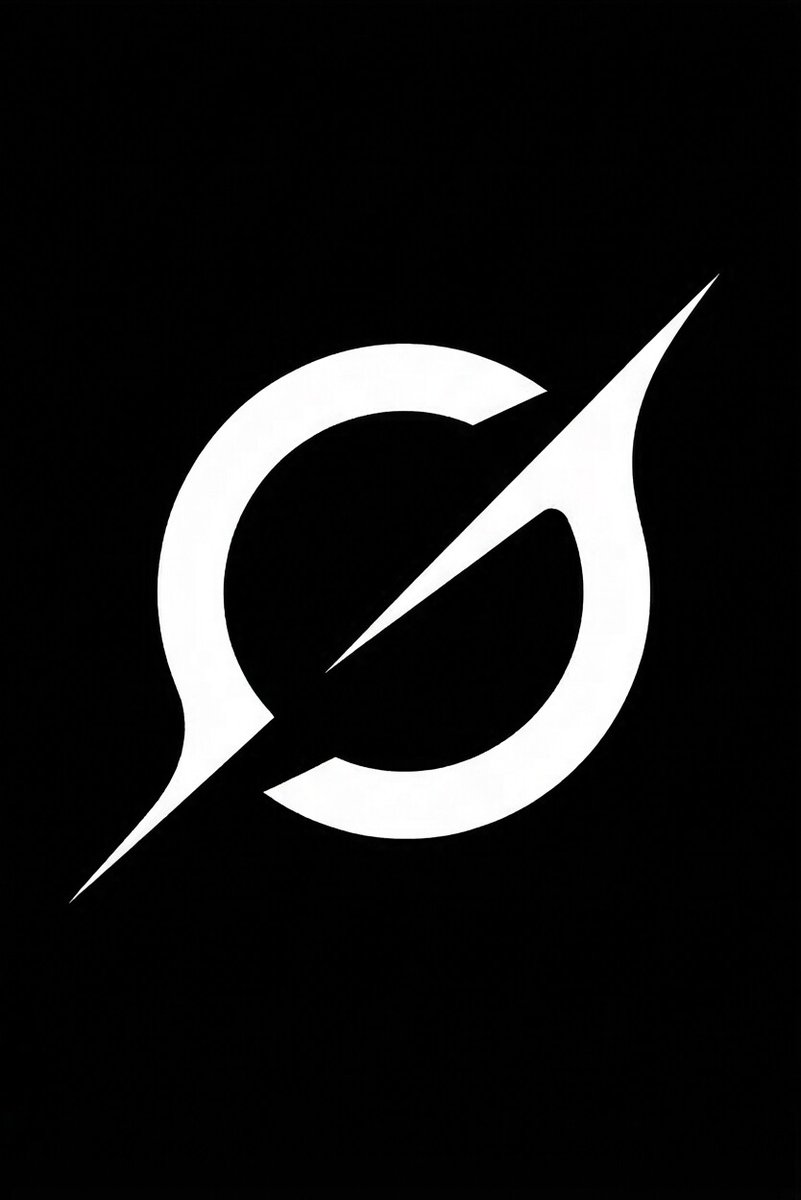
Just turned the official Grok Imagine logo into a living, breathing black-hole animation using the new Reference-to-Video feature.
I fed it these exact 4 references (clean vector 3 cosmic variations) and the consistency is flawless — same sharp spike, glowing accretion disk, and text lock across every single frame.
Watch it pulse, orbit, and pull you in 🌀
This changes everything for branding:
- Perfect start & end frame control
- Add glowing effects or new elements mid-clip without breaking the design
- Real cinematic camera moves
- Zero style drift on abstract logos
Bring your own logo to life — drop it below and I’ll animate the next one live 👇
@grok #GrokImagine #ReferenceToVideo #LogoAnimation
1
1
205
Mar 12
Here are the four image references used for the animation:

1
128