638 Photos and videos


Games I'm Still waiting on.
Radirgy Switch - @DispatchGames
Ordered - July 4th 2019
Crinzon Clover Switch - @FirstPressGames
Ordered - September 10th 2021
Ray Z Arcade Chronology Switch - @RealStrictlyLTD
Ordered - August 1st 2022
1
4
278
FOTNS retweeted

First in-house photo of the KOF 30th Anniversary Collector’s Edition for #PS4!
Crafted with the utmost care, this premium edition features metallic foil printing, hot foil stamping, and embossed details. Every element has been designed to pay tribute to the legacy of The King of Fighters. 👊
Final assembly, including the games themselves, will be completed by the end of June with the same commitment to quality and attention to detail.
We can't wait to show you the result of this passion-driven project!

3
27
137
7,402
FOTNS retweeted

For anyone who didn't watch the JP direct,
a Touhou 6 remake Localized for 11 LANGUAGES
including English, Spanish, and Brazilian Portuguese
coming out on Switch, Steam, and PS5
in 9/9/2026
This is the best announcement of the day, personally
182
4,571
23,065
1,333,967
FOTNS retweeted

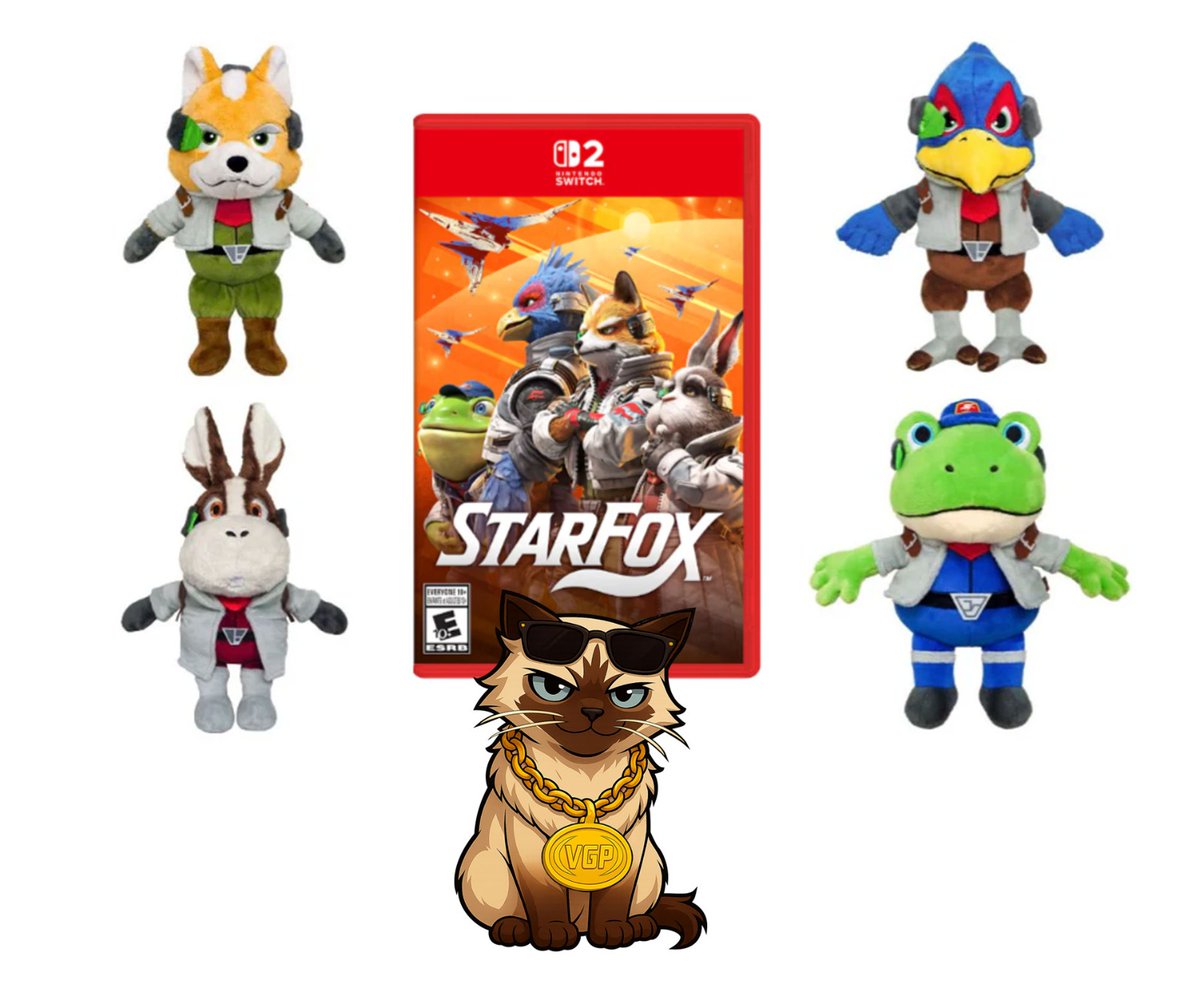
VGP Glitch Giveaway Time! Do A Barrel Roll!
Glitch is giving away a copy of Starfox Nintendo Switch 2 and the whole plush crew! Fox, Falco, Peppy, Slippy and her sticker!
RT, Like and Follow VGP to enter for a chance to win.
Winner announced June 25, 2026!
223
2,708
3,035
64,345
FOTNS retweeted

Announcing Muchi Muchi Pork! & Pink Sweets Boosted!
From @CityConnectWest
Coming to Switch and PS5 both digitally and physically!
Pre-order today!
shop.clearrivergames.com/col…
23
57
238
7,945
FOTNS retweeted

May 29
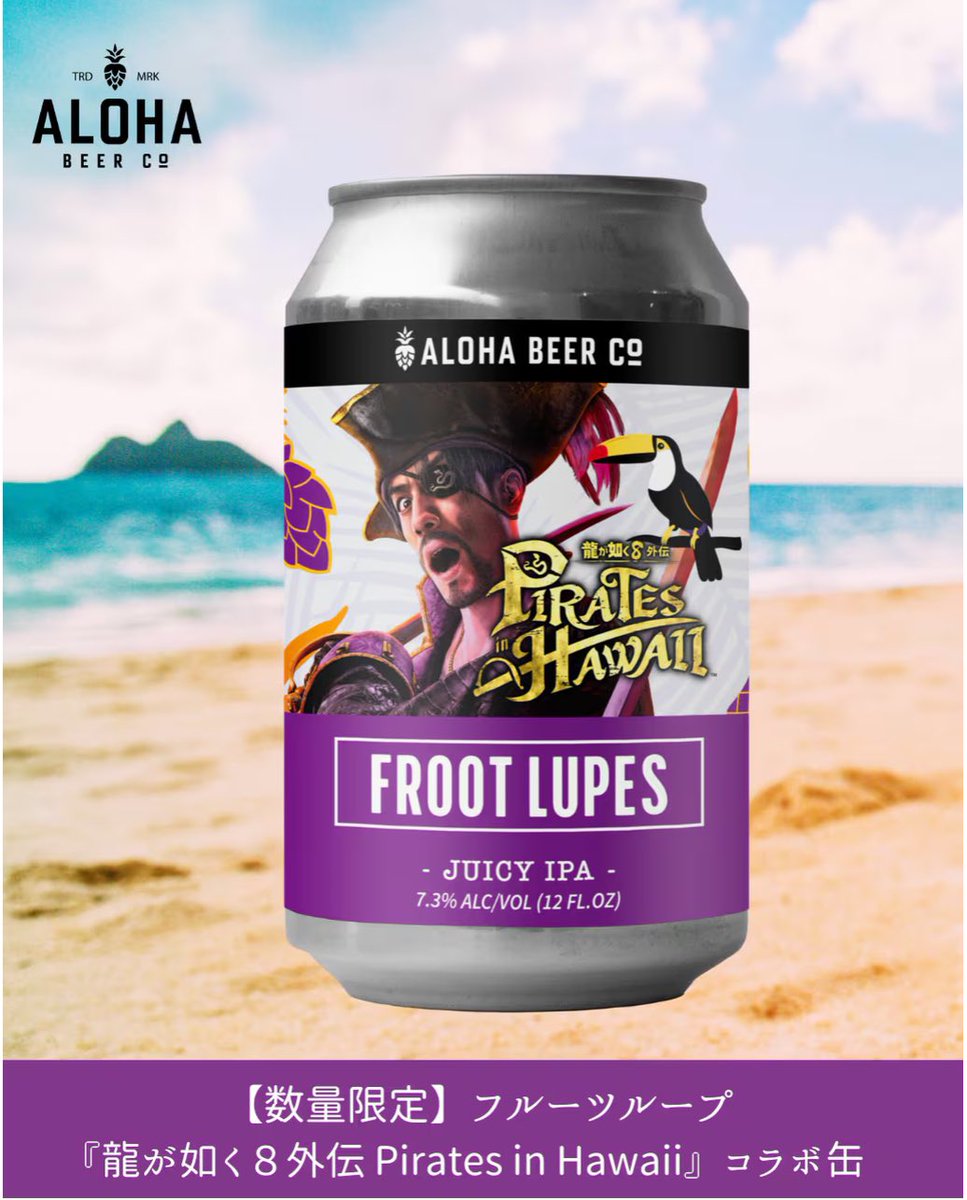
『むちむちポーク!&ピンクスゥイーツ Boosted』PS5/Switch/Steamで10月1日発売
dengekionline.com/article/20…
ケイブにより2000年代にアーケードで展開され、Xbox360でも両タイトルセットで販売された縦スクロールシューティング。『Boosted』には多数のアレンジモードとアレンジBGMが収録。
9
480
783
107,196
FOTNS retweeted

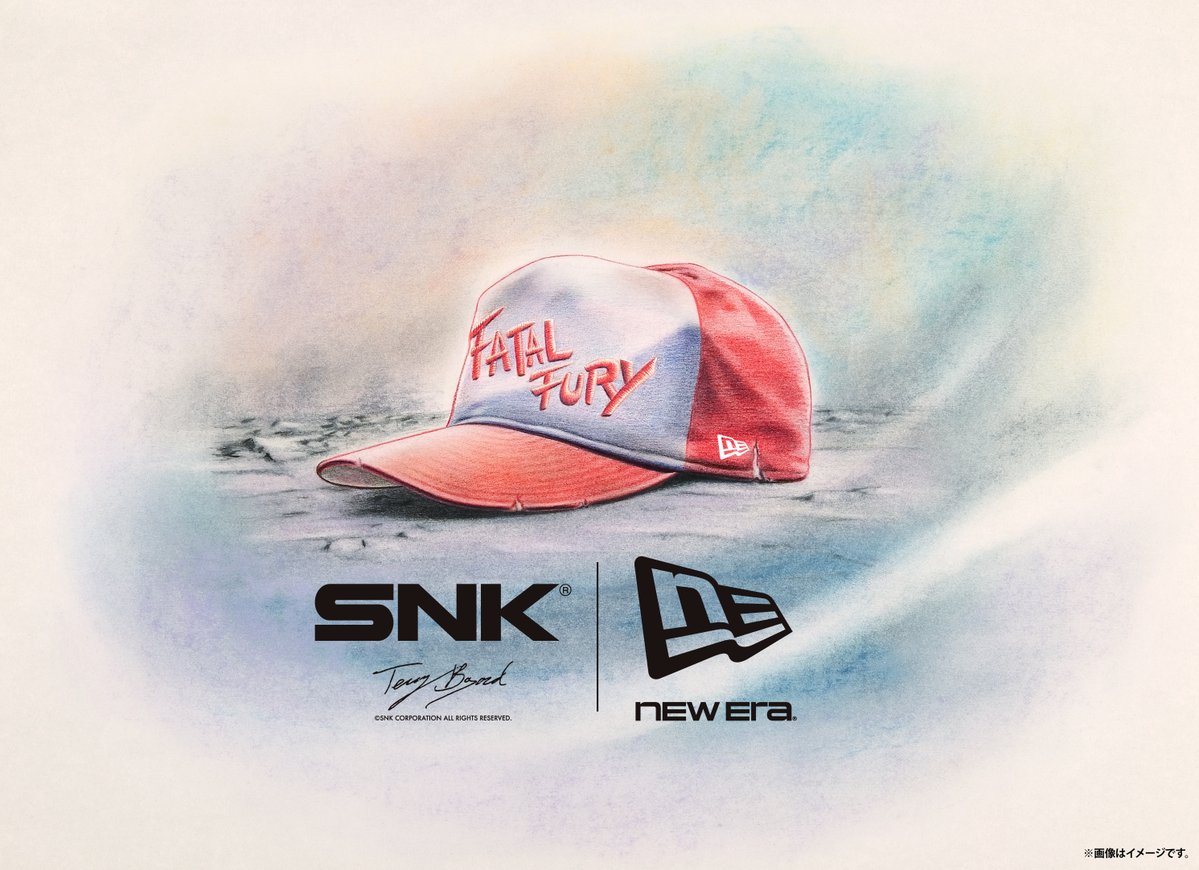
◤5.29 12:00 RELEASE◢
FATAL FURY × NEW ERA®
すごいゲームを、連れて歩こう
NEOGEO, a part of your every day.
「NEOGEO STYLES」オープン記念アイテムとして、NEW ERA®とのコラボキャップが登場。
#NEOGEOSTYLES #NEOGEO #SNK #FatalFury #NewEra #ニューエラ
69
1,422
6,221
533,082
FOTNS retweeted

🚨 COMPETITION TIME! 🚨
To celebrate today's launch of 007 First Light, we're giving YOU the chance to WIN the Legacy Edition on PS5!
Includes: Copy of the game on PS5, Golden Gun, Steelbook with Magnet, and MORE!
TO ENTER:
🫵🏼 Follow us and Repost this!
✍🏼 Respond with your favourite Bond movie and tell us why?!
ENDS:
Wednesday 3rd June at 12pm! ⏳
Good luck, 007...

1,772
1,815
1,965
154,997
FOTNS retweeted
May 27
Tsuneki Ikeda aka IKD, co-founder of CAVE Co. Ltd. and godfather of the bullet hell genre, has retired from CAVE due to family circumstances.
May 26

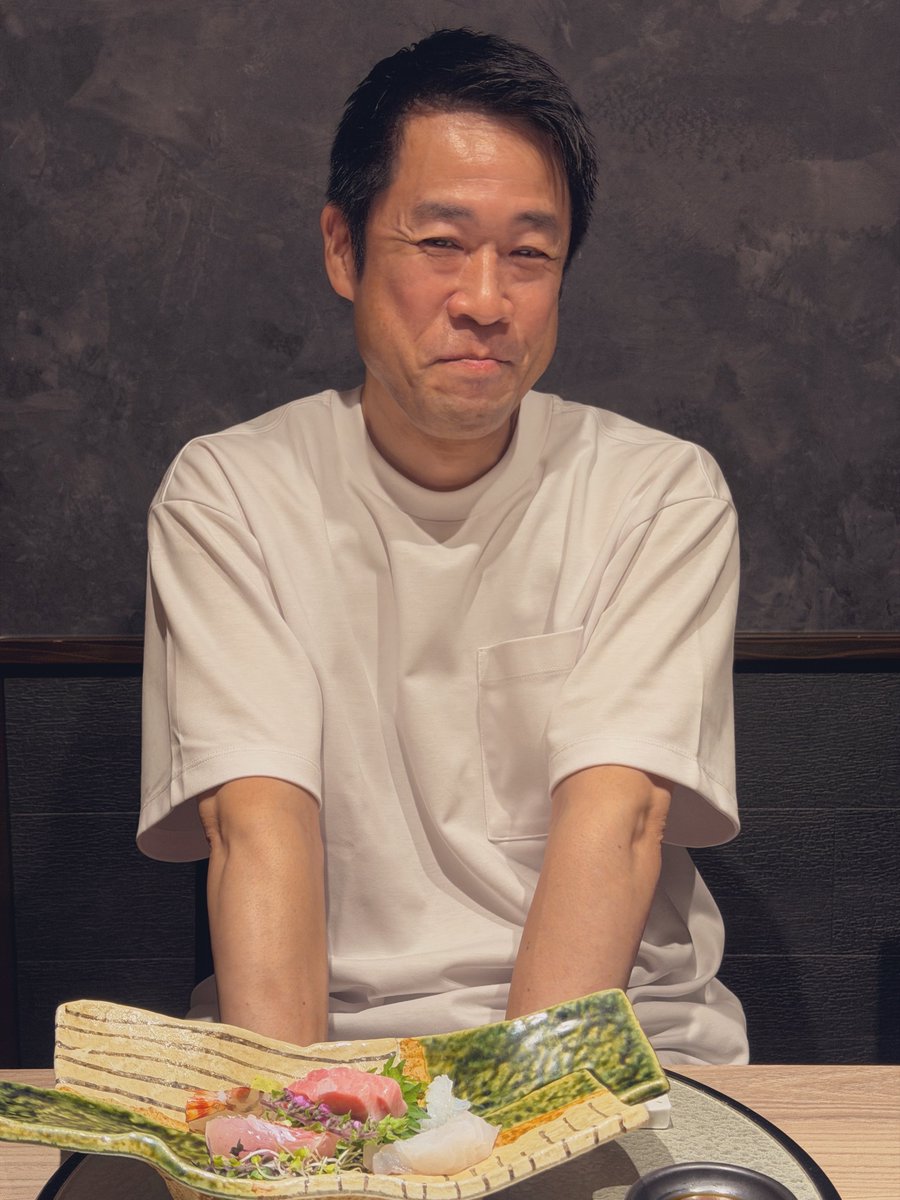
一旦落ち着かれた様なので、元ケイブの池田さん(旧姓IKDさん)とご飯を食べに行った。
ご家庭の事情で退職されたのは残念ですが、それも長い人生では重要な事なのです。
2
26
128
7,871
RT @Grasshopper_EN: It looks like legendary film director Yoshihiro Nishimura has passed away.
Nishimura-san was a major element of the ea…
611
FOTNS retweeted

May 24
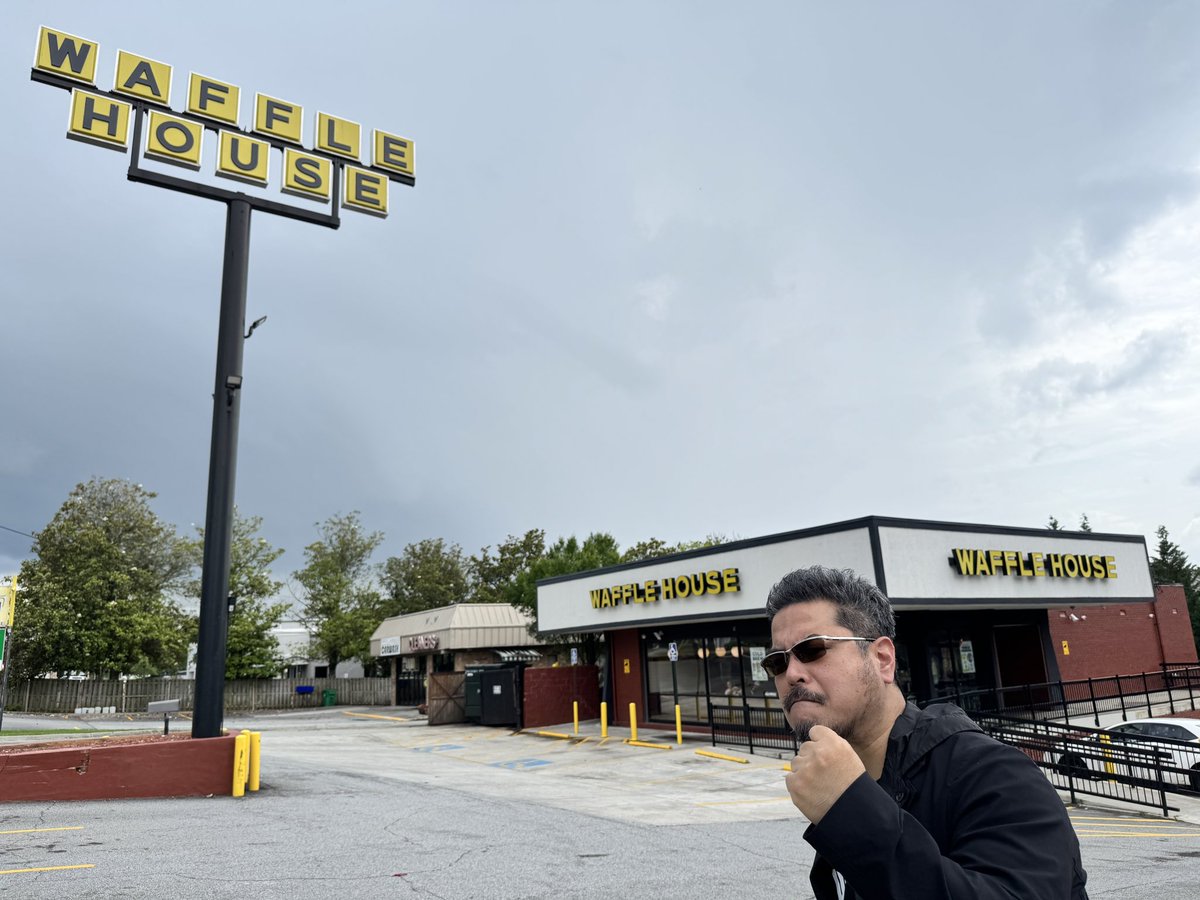
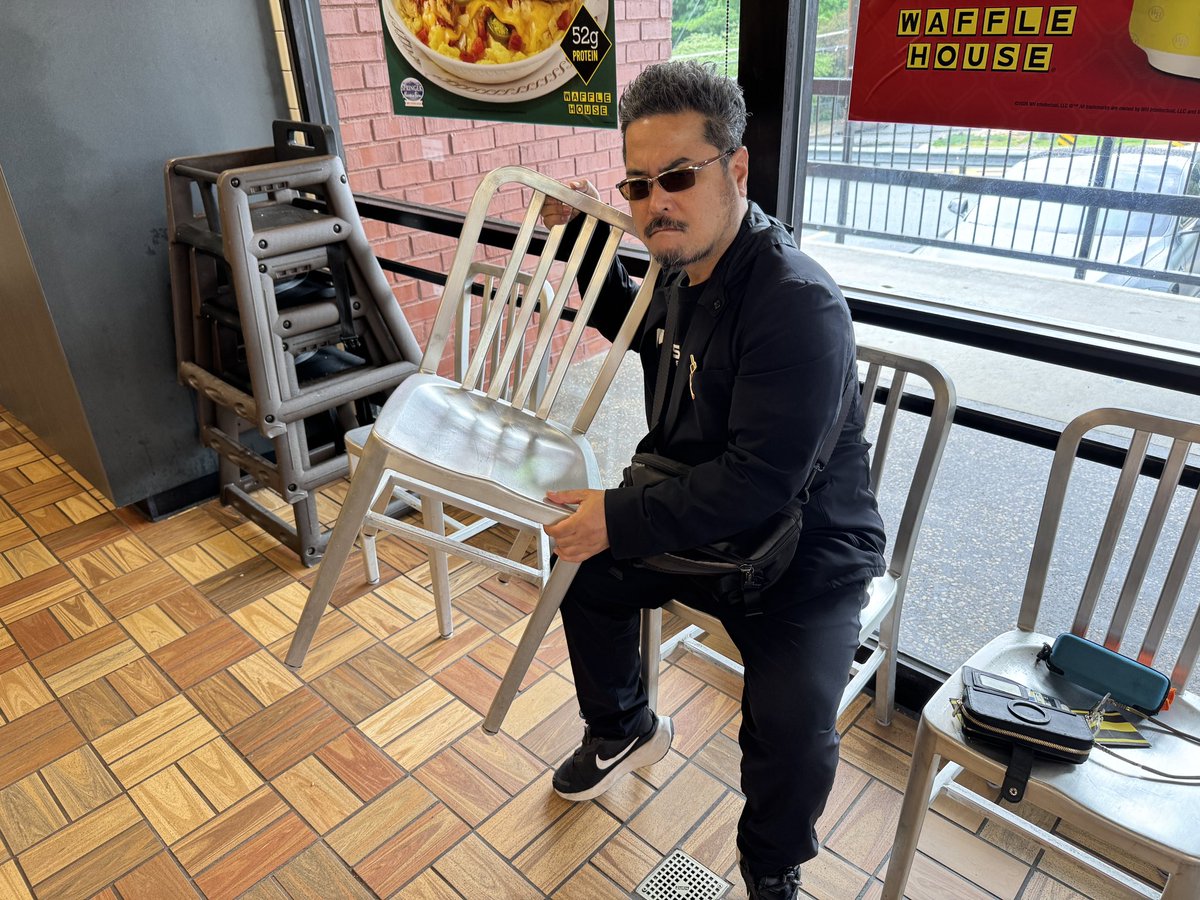
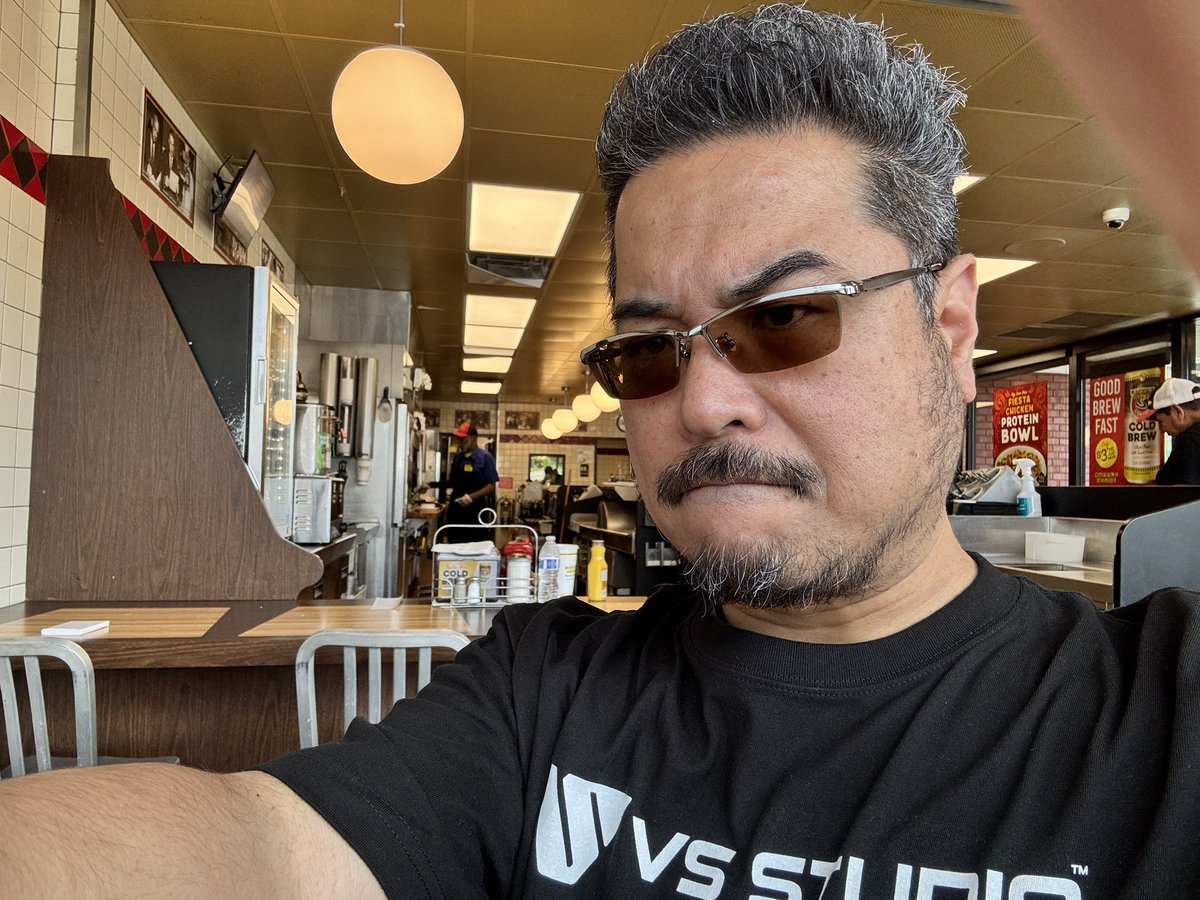
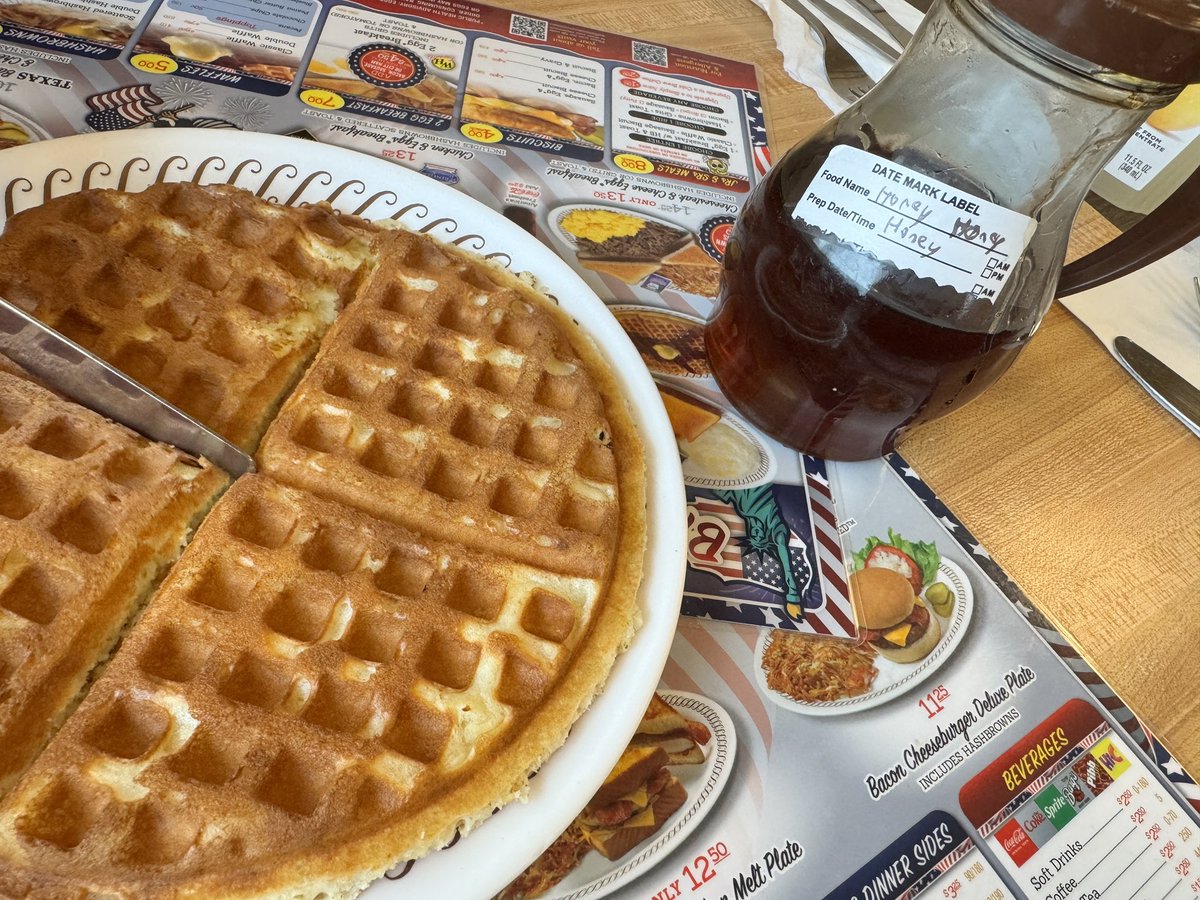
I finally made it to WAFFLE HOUSE.
The staff are always friendly, and when I asked if they would sell me a menu, they sold me one for $5.
Next time, I’ll be back at 3 a.m. for fight time.
#WAFFLEHOUSE
1,055
22,979
169,030
5,229,867
FOTNS retweeted

Finallyyy… after all this time we can reveal that Kidbash: Super Legend is published by @PlayAcclaim!
What better way to celebrate than with a brand‑new trailer!
29
128
675
30,572
FOTNS retweeted

May 1
Saros Beginner Tips for new players
Some of you asked for them, so here are the tips that will make your early runs much easier:
1. Do not attack the big enemy first
Always clear the small enemies before focusing on the big one.
If you rush the big enemy immediately, the smaller ones will hit you from every direction and overwhelm you. Clearing them first makes the fight much safer.
2. Some areas stay locked until you progress
You will find places you cannot enter early in the game.
These areas require special equipment that you unlock later in the story. Once you get the right tool, you can return and explore them.
3. Saros can be easier or harder than Returnal!
Saros uses Carcosan Modifiers, a system that lets you tune the difficulty to your liking.
> Protections (buffs) make the game easier.
> Trials (debuffs) make the game harder.
> Each modifier has a point value.
> Your total must stay at -3 or higher, which means you need to balance buffs with debuffs.
Example:
If a Protection costs -9, you need Trials worth 6 so the total lands at -3.
There’s an option in the Settings menu that lets you disable the modifier limit and use unlimited Protections. This effectively turns the game into a story‑mode experience.
Most players unlock Carcosan Modifiers after beating the second boss, but some reported getting them earlier after dying repeatedly, even before clearing the first boss.
🏆 Tip:
Keep at least one modifier active. It helps reduce the time needed for a specific trophy.
4. Understanding the 3 colors (your main stats)
> Resilience [🟢] increases your maximum health and improves resistance to hazards.
> Command [🔵] boosts your shield capacity and lets you use Power Weapons more often by improving your Power management.
> Drive [🟡] increases your Lucenite gain and speeds up how quickly it converts into Proficiency.
These stats matter because items can raise or lower them, and weapons scale differently depending on your stats.
Example:
If a weapon has a perk that scales with Drive, it will be weak if your Drive is low, even if the weapon level is slightly higher.
If the level difference is small, always choose the weapon that matches your strongest stats.
5. Explore side paths before the main path
On the map:
> White flags are side paths.
> Blue flags are the main path.
Always check the white paths first. They contain upgrades, items, and weapons that make your run easier.
6. Do not spend your keys too fast
You can use one key if you find a gate, but avoid opening multiple Power Weapon containers in a short time.
If you open one and then open another a few minutes later, you might get a Power Weapon that is only 1 or 2 levels higher. This is not worth it unless you are about to finish the biome and return to base.
7. Movement is more important than damage
Do not stand still and shoot.
> Keep moving at all times.
> Circle around enemies instead of backing away.
> Jump and dodge at the right moment.
Good movement prevents most damage and makes fights much easier.
8. Use Power Weapons correctly
Power Weapons deal huge damage, but many beginners waste them.
> Save them for tougher enemies or bosses.
> Use them when you are overwhelmed to clear space.
> Do not waste them on basic enemies unless you are in danger.
9. You can safely quit the game mid‑run
As long as you are not in a boss fight, you can close the game and continue exactly where you left off.
10. Understanding attack colors
Early in the game, you won’t have the tools to counter every attack type, so don’t worry if some moves feel unavoidable. Once you unlock the shield and gauntlet upgrades, the color system becomes a core part of combat. Each color tells you exactly how to respond:
> Blue attacks can be safely blocked with your shield.
> Red attacks must be parried using your gauntlet.
> Yellow attacks cannot be blocked or parried, so you need to dodge them.
This system becomes much more important as the game progresses, and learning these reactions early will make tougher encounters far easier to manage.
19
34
363
22,193

FOTNS retweeted

Apr 21
Shigeru Miyamoto drops by The Super Mario Galaxy Movie premiere in Japan, discusses how the Japanese version differs gonintendo.com/contents/6008…

4
17
1,926
Wow some really good deals, even some Cave shmups.

Spring is here!
Head over to our store for up to 75% off on our physical and collector's editions!
shop.clearrivergames.com/col…

15
FOTNS retweeted

Apr 21
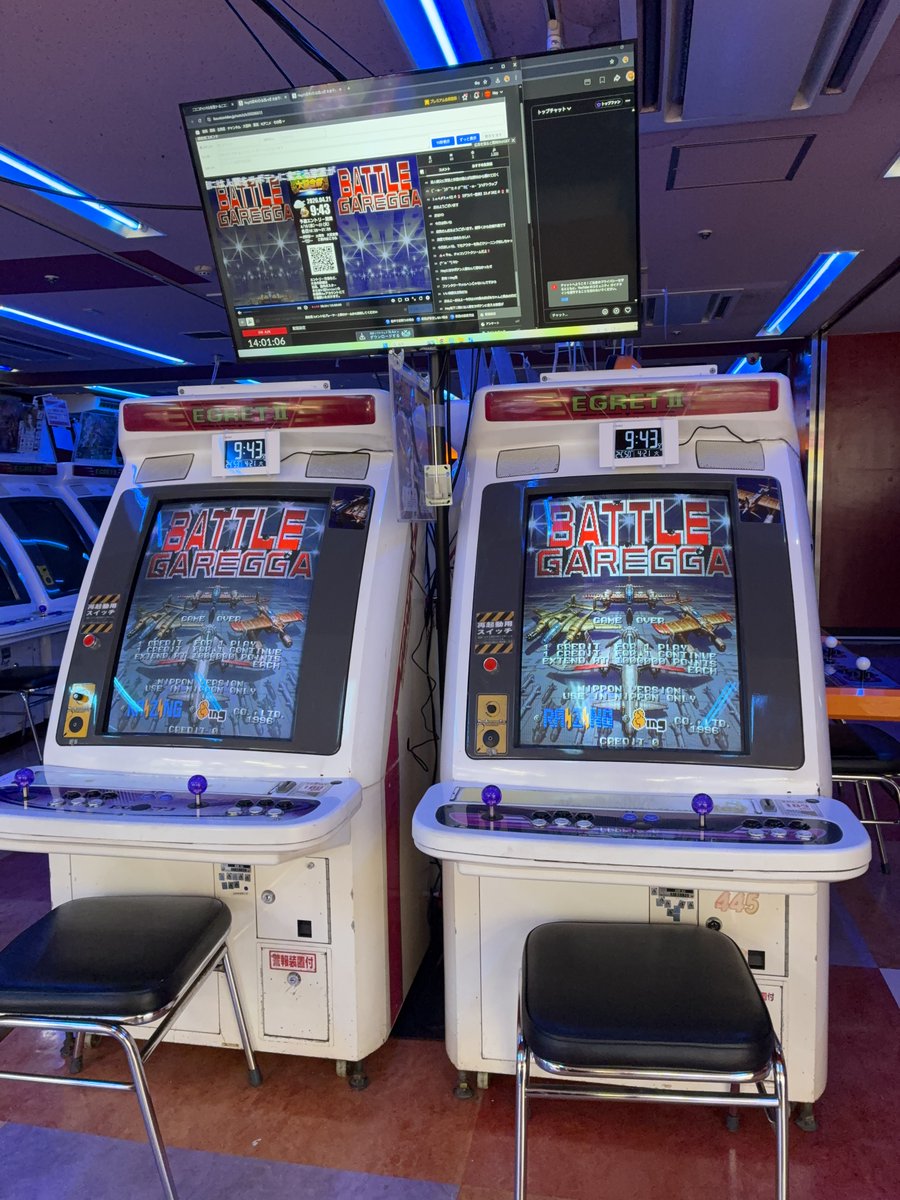
「バトルガレッガ」1面番長大会の予選最終日
本日21時まで実施中です。配信も行っております。
イベント詳細 taito.co.jp/event/001606
ご視聴はこちら
youtube youtube.com/@hey2f640
ニコニコ生放送 ch.nicovideo.jp/Hey
#秋葉原Hey #Hey25th大記念祭 #ガレッガHey
26
87
19,387
FOTNS retweeted

Apr 21
6
77
554
25,364
FOTNS retweeted

To celebrate our 60fps upgrade of Yooka-Replaylee on Switch 2, we're giving away an alternate cover copy of the game to two lucky winners!
To enter, make sure to 🔄Retweet this post and be 👤Following us for a chance to win!

233
3,046
3,073
196,345


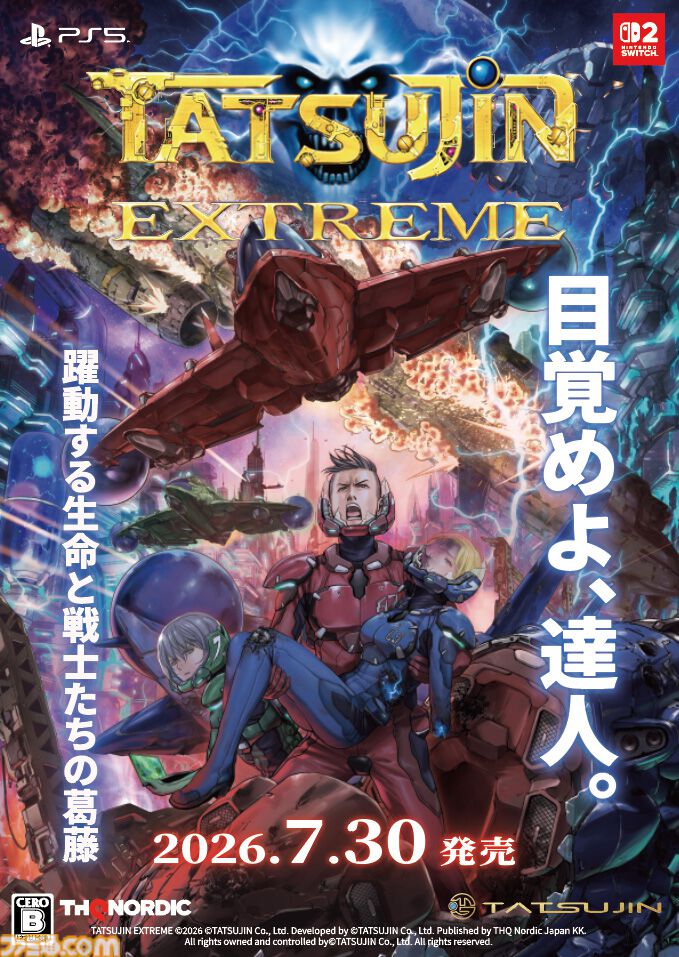
東亜プランの名作『TATSUJIN』が38年の時を経て復活。完全新作『TATSUJIN EXTREME』Switch2、PS5向けに7/30発売
famitsu.com/article/202604/7…
シリーズ原作で企画・開発・作曲を手がけた弓削雅稔氏が総指揮。自機"ハイパーファイター”メタルフィギュアや78曲のサントラ等がセットになった限定版も発売。
9
388
717
95,624