
Sidny retweeted

Final practice but make it pixel stretch 🎨


21
22
606
28,100
ChenaiDaGreat! retweeted

Jun 12
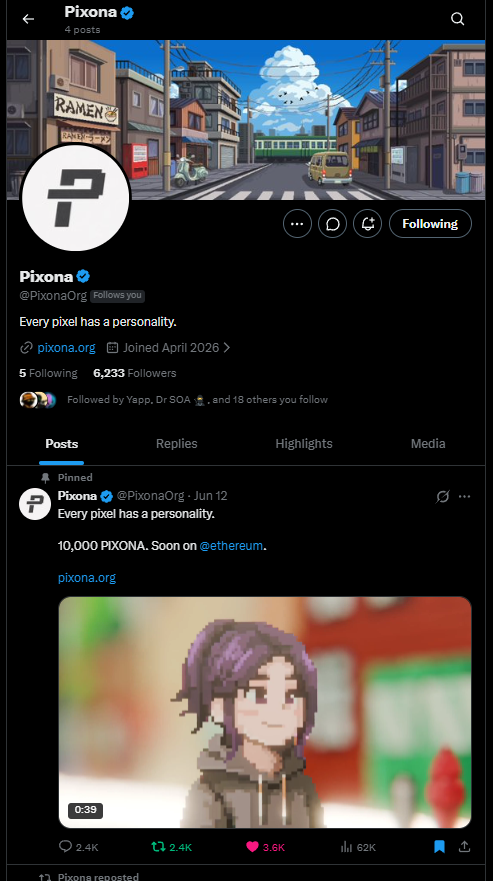
Every pixel has a personality.
10,000 PIXONA. Soon on @ethereum.
pixona.org
2,473
2,433
3,779
64,316
WonderingWu retweeted

Jun 4
Pixel Art Commission for @/tharjaxoxo
Nudes, alts, process video, and tons more at the p-page

2
10
128
2,847
LC retweeted

It's time to check out. Get a good quality VPN set to auto connect to a free country, get a Pixel 9a/10a (most affordable option) for Graphene OS, get Grok to walk you through anything you're unsure about.
Move your PC to something windows adjacent without all the spyware eg Linux Mint to get you started.
Stop putting up with this. It's ridiculous.
3
4
82
2,652

Hello coders Name's one growthLearning in publicminded pixel pusher creating Automation Fork my repos 🦾
1

Hey there Here's the detailStay curiousoriented pixel pusher who loves Full Stack Portfolio below 🎨

Access ALL prompts for stunning animated websites in one click: sceneai.art
prompt:
Master Prompt Architecture: Cortex AI Hero Section
This document contains highly specific, engineering-grade prompts designed to force an AI coding assistant to output the exact pixel-perfect Cortex AI hero section.
Instructions: Feed these prompts sequentially into your AI assistant. Wait for the complete code output of each phase before pasting the next prompt.
Phase 1: Environment & Mathematical Video Centering
Objective: Establish the pure black environment and perfectly lock the background video into the exact center of the screen using flexbox centering.
Prompt 1:
Create a responsive dark-themed hero section using HTML, Tailwind CSS (via CDN), and custom CSS.
1. Environment: Set the `body` background color to true pure black (`#000000`). Use the 'Inter' font. The body must be `min-h-screen flex flex-col relative`. Add `selection:bg-white/20`.
2. Video Wrapper: Create an absolute wrapper that spans the full screen: `absolute inset-0 flex items-center justify-center pointer-events-none z-0 overflow-hidden`.
3. Video Container: Inside the wrapper, add a container exactly `800px` wide and `800px` tall. Crucially, ensure it is perfectly centered both horizontally and vertically to align with the rest of the content. Do not use any directional offsets.
4. Video Element: Add an autoplaying, looped, muted, inline `<video>` using this exact URL: `cdn.sceneai.art/Hero Secti…`. Apply `w-full h-full object-cover`.
5. Video Fade Overlay: On top of the video (using `absolute inset-0`), add this exact custom CSS background to fade the video edges seamlessly into the pure black background: `background: radial-gradient(circle at center, transparent 35%, #000000 68%); z-index: 1;`.
Phase 2: Precision 13px Navigation Bar
Objective: Build the header with exact spacing, 13px typography, and a stark white CTA button.
Prompt 2:
Add a navigation bar at the top (`w-full relative z-50 pt-6 px-6 lg:px-12 flex items-center justify-between`).
1. Logo: Left side. Abstract white SVG logo. Text: "CORTEX AI" (text-lg font-bold tracking-wide text-white).
2. Desktop Links: Center. Flex gap-8. Links: Product, Solutions, Integrations, Pricing, Company. Styling: text-[13px] font-medium tracking-wide text-white/70 hover:text-white transition-colors.
3. Desktop Actions: Right side. Flex gap-8.
- 'Log In' link: text-[13px] font-medium tracking-wide text-white/80 hover:text-white.
- 'Sign Up' button: Solid pure white background (`bg-white`), black text. Padding `px-6 py-2.5`, fully rounded (`rounded-full`), text-[13px] font-semibold, shadow-lg.
4. Mobile Menu: Hide center/right on mobile. Add a hamburger SVG button. Add JS to toggle a fixed, full-screen overlay (`fixed inset-0 bg-black/95 backdrop-blur-xl z-40`) containing vertically stacked links.
Phase 3: Centered Hero Typography & Glassmorphism
Objective: Create the main content area, vertically centered, featuring specific negative tracking on the headline and glassy aesthetic buttons.
Prompt 3:
Below the nav, add the main content area (`relative z-10 flex-1 flex flex-col items-center justify-center px-6 text-center mt-20 mb-12 lg:mb-20`).
1. Version Pill: A glassy inline-flex badge (`bg-white/5 backdrop-blur-md border border-white/20 rounded-full px-1.5 py-1.5 pr-4 mb-10 shadow-lg`). Inside: A solid white pill saying 'New' in black 10px uppercase bold text, followed by 'VERSION V.1.02 HAS BEEN LAUNCHED!' in white 10px uppercase tracking-widest text.
2. Headline: 'Strategic AI to Scale Your <br> Business Growth.' Styling: text-white, size `text-[32px] md:text-[40px] lg:text-[48px]`, font-medium, specific line-height `leading-[1.15]`, and negative letter spacing `tracking-[-0.02em]`. Max-width 700px.
3. Subheadline: 'Transform complex workflows into intelligent, streamlined systems. We build AI solutions that move in sync with your team's rhythm.' Styling: text-white/60, text-[15px] md:text-[17px], font-light, mt-6 mb-10, max-width 600px.
4. CTA Button: 'Start Your AI'. Glassy design (`bg-white/5 backdrop-blur-md hover:bg-white/10 border border-white/20 text-white pl-6 pr-2 py-2 rounded-full font-medium text-[15px] flex items-center gap-4 shadow-2xl`). Inside on the right, add a solid white circular wrapper (`w-8 h-8 rounded-full bg-white text-black`) containing a right-pointing SVG arrow that translates X slightly on hover.
Phase 4: Structured Bottom Logo Grid & Crosshairs
Objective: Add the bordered bottom section containing decorative corner crosshairs and the exact client logos.
Prompt 4:
At the very bottom, add a section that sticks to the bottom (`relative w-full mt-auto flex items-end`). Inside, add a wrapper (`w-full px-6 pb-12`).
1. Container: Add a centered container (`max-w-[1200px] mx-auto relative border-t border-b border-white/10`).
2. Crosshairs: Add 4 decorative crosshairs exactly at the top-left, top-right, bottom-left, and bottom-right corners of the container borders. Use the text ` ` styled as `absolute text-white/40 text-[14px] font-mono transform -translate-x-1/2 -translate-y-1/2`.
3. Grid Layout: Inside the container, create a 6-column grid on desktop, 1 on mobile. Add right borders between columns (`divide-white/5`). Flex center all cells with `p-8`.
4. Column 1 (Text): 'Trusted by 80,000 companies of all sizes'. Align left, text-white/60, text-[13px], font-light.
5. Columns 2-6 (Logos): Add white SVGs for Oracle, Vercel, cansaas, GitHub, and Slack. Make them `opacity-80 hover:opacity-100 transition-opacity`. Center them in their grid cells.
Phase 5: Advanced Cubic-Bezier Load Animations
Objective: Implement the fluid, staggered .delay-* sequence that brings the page to life.
Prompt 5:
Implement a staggered, step-by-step loading animation.
1. Keyframes: In the `<style>` tag, create `@keyframes fadeUp`. From: `opacity: 0; transform: translateY(20px);` To: `opacity: 1; transform: translateY(0);`.
2. Base Class: Create `.animate-on-load` applying `animation: fadeUp 0.8s cubic-bezier(0.16, 1, 0.3, 1) forwards; opacity: 0; transform: translateY(20px);`.
3. Delay Utility Classes: Create classes `.delay-100` through `.delay-850` in increments of 50ms and 100ms.
4. Application: Wrap the HTML elements and apply these exact delays:
- Video container & Navbar: `delay-100`
- Version Pill: `delay-200`
- Headline: `delay-300`
- Subheadline: `delay-400`
- CTA Button: `delay-500`
- Corner Crosshairs & Trusted Text: `delay-600`
- Oracle Logo: `delay-[650ms]`
- Vercel Logo: `delay-[700ms]`
- cansaas Logo: `delay-[750ms]`
- GitHub Logo: `delay-[800ms]`
- Slack Logo: `delay-[850ms]`
Ensure every piece of content animates in beautifully sequentially upon page load.
7
Cécile Renard🌿🇫🇷⚜️✝️ retweeted

BLA BLA CAT
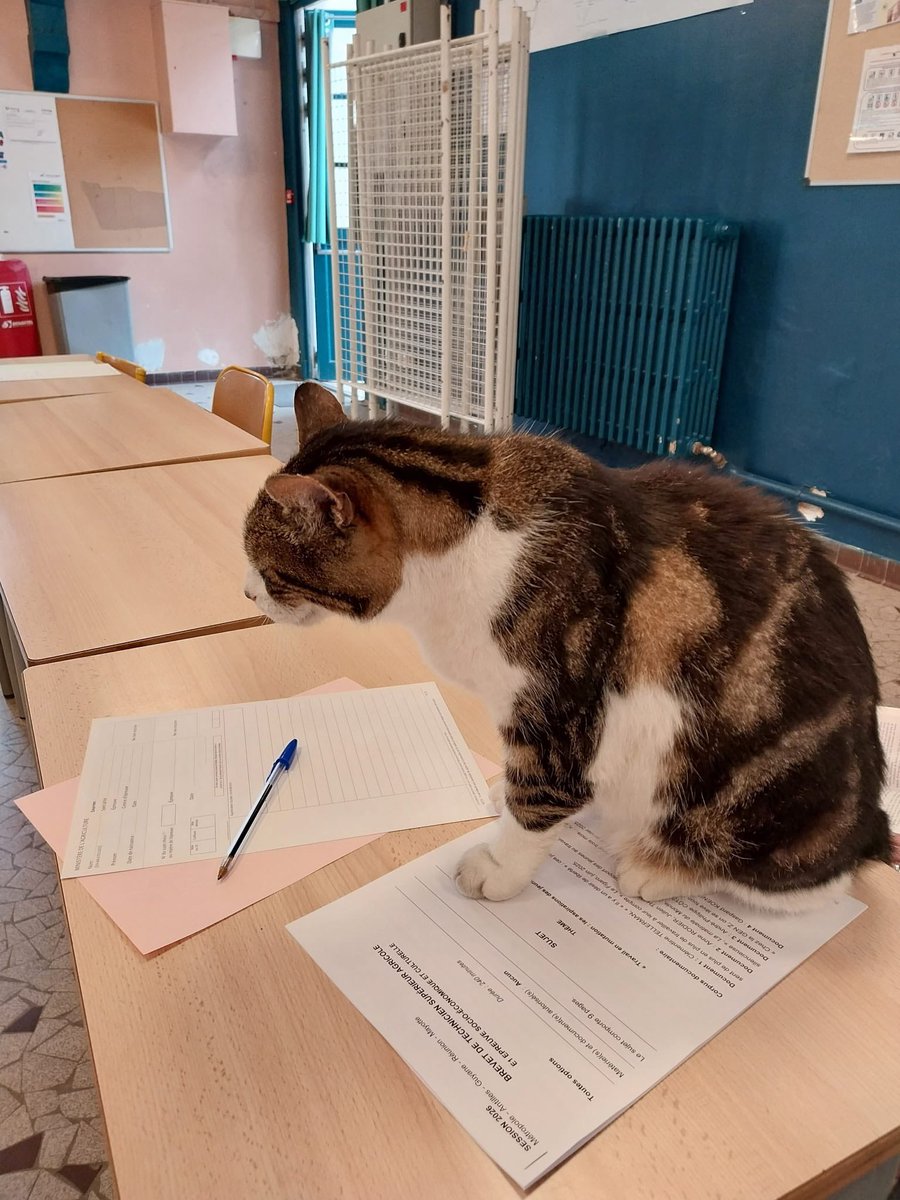
Une pensée à tout ces jeunes qui passent leurs examens en ce moment.
Le chat PIXEL de l’école du Breuil a passé son bts. Il l a eu haut la patte et nous sommes toutes très fières de lui.
@onevoiceanimal @SavoirAnimal07 @FIFI728657
3
18
149
981
Rextinator retweeted

Pixel art | Elden Ring - Malenia, Goddess of Rot
Artist: @msb_888

1
214
2,808
25,816
nova retweeted

Welcome to PokeSaga.
A new pixel world is coming.
Craft resources.
Explore new lands.
Build your own adventure.
The journey begins soon.

36
24
221
15,201

GM!
NGL, we never expected PIXONA to grow this fast.
In under 48 hours, we hit 6K followers, 50K Pixonalist applications, and 2K Discord members. We're carefully filtering applications to keep bots out and real collectors in.
This is just the beggining, one pixel at a time.
4
5
19
Kushal Gowda A retweeted

My Pixel 7a’s battery swelled up, so we made a video about the service centre experience in Delhi. Credit where it is due, the service was actually very good. Got the phone back in about 90 minutes.
But here is the thing. Google’s service in India has always been average. And when you combine average products with average service, it becomes really hard to recommend Pixel phones to anyone. It was not easy before either.
At this point, the only reason to buy a Google phone is because Google is a household name. Period. 🤷♂️
Jun 13

AVOID GOOGLE PIXEL IN INDIA
AVOID GOOGLE PIXEL IN INDIA
AVOID GOOGLE PIXEL IN INDIA
AVOID GOOGLE PIXEL IN INDIA
AVOID GOOGLE PIXEL IN INDIA
9
4
95
12,946

I replaced a $3,500/mo paid media agency with ONE Claude Code plugin that runs as an Autonomous Self-Healing Paid Media OS.
Last week: $18k test spend → flagged 3 bleeders on day 2 → reallocated $9k → ROAS from 2.1 to 4.8 in 11 days. Then it auto-adjusted the next cycle to lock in gains.
No agency calls. No Monday PDF reports. No 2am Slack ghosts.
Your agency probably can’t tell you:
• Which creatives fatigue 2 weeks before the drop
• Which campaigns cannibalize each other
• Which ad sets burn money on dead audiences (converted 6 months ago)
• Which platform looks good on ROAS but wrecks cash flow
This OS answers from live data and self-heals while you sleep:
→ Pulls 90-day exports pixel events competitor signals
→ Runs 200 micro-simulations every 4 hours
→ Predictive ROAS models auto kill list
→ Writes replacement copy, bids & targeting from your real winners
→ Pushes API/CSV changes learns from outcomes
Agencies test 47 things & manually reallocate. This detects → diagnoses → fixes → learns in a closed loop.
One prompt delivers:
• Predictive ROAS dashboard with confidence intervals 0-100 Health Score
• Paste-ready fix briefs new copy, targeting, and bid structure included
• Cross-platform budget optimizer cut wasted spend 40-60% vs manual reallocation
• Self-writing weekly report ready before your Monday standup
Built 100% in Claude Code. Pennies per run.
Full playbook install steps, 7 prompts, demo flows, hidden API tips free right now.
DTC brands & agencies: What’s your biggest paid media headache (bleeders, fatigue, cannibalization)? Comment below and I’ll tell you the exact prompt that fixes it.
23
⭒Miku 𖤐 ̖́- Rytsue⭒🐻 retweeted

yo cuando un hombre me coquetea: 🤮🤮🤮🤮🤮
yo también cuando un pixel de un juego pajero otome de mierda me dice que me ama y que soy su princesa: ☺️💝💐🥺🥰❤️
7
1,600
7,121
35,102

Access ALL prompts for stunning animated websites in one click: sceneai.art
prompt:
Master Prompt Architecture: Cortex AI Hero Section
This document contains highly specific, engineering-grade prompts designed to force an AI coding assistant to output the exact pixel-perfect Cortex AI hero section.
Instructions: Feed these prompts sequentially into your AI assistant. Wait for the complete code output of each phase before pasting the next prompt.
Phase 1: Environment & Mathematical Video Centering
Objective: Establish the pure black environment and perfectly lock the background video into the exact center of the screen using flexbox centering.
Prompt 1:
Create a responsive dark-themed hero section using HTML, Tailwind CSS (via CDN), and custom CSS.
1. Environment: Set the `body` background color to true pure black (`#000000`). Use the 'Inter' font. The body must be `min-h-screen flex flex-col relative`. Add `selection:bg-white/20`.
2. Video Wrapper: Create an absolute wrapper that spans the full screen: `absolute inset-0 flex items-center justify-center pointer-events-none z-0 overflow-hidden`.
3. Video Container: Inside the wrapper, add a container exactly `800px` wide and `800px` tall. Crucially, ensure it is perfectly centered both horizontally and vertically to align with the rest of the content. Do not use any directional offsets.
4. Video Element: Add an autoplaying, looped, muted, inline `<video>` using this exact URL: `cdn.sceneai.art/Hero Secti…`. Apply `w-full h-full object-cover`.
5. Video Fade Overlay: On top of the video (using `absolute inset-0`), add this exact custom CSS background to fade the video edges seamlessly into the pure black background: `background: radial-gradient(circle at center, transparent 35%, #000000 68%); z-index: 1;`.
Phase 2: Precision 13px Navigation Bar
Objective: Build the header with exact spacing, 13px typography, and a stark white CTA button.
Prompt 2:
Add a navigation bar at the top (`w-full relative z-50 pt-6 px-6 lg:px-12 flex items-center justify-between`).
1. Logo: Left side. Abstract white SVG logo. Text: "CORTEX AI" (text-lg font-bold tracking-wide text-white).
2. Desktop Links: Center. Flex gap-8. Links: Product, Solutions, Integrations, Pricing, Company. Styling: text-[13px] font-medium tracking-wide text-white/70 hover:text-white transition-colors.
3. Desktop Actions: Right side. Flex gap-8.
- 'Log In' link: text-[13px] font-medium tracking-wide text-white/80 hover:text-white.
- 'Sign Up' button: Solid pure white background (`bg-white`), black text. Padding `px-6 py-2.5`, fully rounded (`rounded-full`), text-[13px] font-semibold, shadow-lg.
4. Mobile Menu: Hide center/right on mobile. Add a hamburger SVG button. Add JS to toggle a fixed, full-screen overlay (`fixed inset-0 bg-black/95 backdrop-blur-xl z-40`) containing vertically stacked links.
Phase 3: Centered Hero Typography & Glassmorphism
Objective: Create the main content area, vertically centered, featuring specific negative tracking on the headline and glassy aesthetic buttons.
Prompt 3:
Below the nav, add the main content area (`relative z-10 flex-1 flex flex-col items-center justify-center px-6 text-center mt-20 mb-12 lg:mb-20`).
1. Version Pill: A glassy inline-flex badge (`bg-white/5 backdrop-blur-md border border-white/20 rounded-full px-1.5 py-1.5 pr-4 mb-10 shadow-lg`). Inside: A solid white pill saying 'New' in black 10px uppercase bold text, followed by 'VERSION V.1.02 HAS BEEN LAUNCHED!' in white 10px uppercase tracking-widest text.
2. Headline: 'Strategic AI to Scale Your <br> Business Growth.' Styling: text-white, size `text-[32px] md:text-[40px] lg:text-[48px]`, font-medium, specific line-height `leading-[1.15]`, and negative letter spacing `tracking-[-0.02em]`. Max-width 700px.
3. Subheadline: 'Transform complex workflows into intelligent, streamlined systems. We build AI solutions that move in sync with your team's rhythm.' Styling: text-white/60, text-[15px] md:text-[17px], font-light, mt-6 mb-10, max-width 600px.
4. CTA Button: 'Start Your AI'. Glassy design (`bg-white/5 backdrop-blur-md hover:bg-white/10 border border-white/20 text-white pl-6 pr-2 py-2 rounded-full font-medium text-[15px] flex items-center gap-4 shadow-2xl`). Inside on the right, add a solid white circular wrapper (`w-8 h-8 rounded-full bg-white text-black`) containing a right-pointing SVG arrow that translates X slightly on hover.
Phase 4: Structured Bottom Logo Grid & Crosshairs
Objective: Add the bordered bottom section containing decorative corner crosshairs and the exact client logos.
Prompt 4:
At the very bottom, add a section that sticks to the bottom (`relative w-full mt-auto flex items-end`). Inside, add a wrapper (`w-full px-6 pb-12`).
1. Container: Add a centered container (`max-w-[1200px] mx-auto relative border-t border-b border-white/10`).
2. Crosshairs: Add 4 decorative crosshairs exactly at the top-left, top-right, bottom-left, and bottom-right corners of the container borders. Use the text ` ` styled as `absolute text-white/40 text-[14px] font-mono transform -translate-x-1/2 -translate-y-1/2`.
3. Grid Layout: Inside the container, create a 6-column grid on desktop, 1 on mobile. Add right borders between columns (`divide-white/5`). Flex center all cells with `p-8`.
4. Column 1 (Text): 'Trusted by 80,000 companies of all sizes'. Align left, text-white/60, text-[13px], font-light.
5. Columns 2-6 (Logos): Add white SVGs for Oracle, Vercel, cansaas, GitHub, and Slack. Make them `opacity-80 hover:opacity-100 transition-opacity`. Center them in their grid cells.
Phase 5: Advanced Cubic-Bezier Load Animations
Objective: Implement the fluid, staggered .delay-* sequence that brings the page to life.
Prompt 5:
Implement a staggered, step-by-step loading animation.
1. Keyframes: In the `<style>` tag, create `@keyframes fadeUp`. From: `opacity: 0; transform: translateY(20px);` To: `opacity: 1; transform: translateY(0);`.
2. Base Class: Create `.animate-on-load` applying `animation: fadeUp 0.8s cubic-bezier(0.16, 1, 0.3, 1) forwards; opacity: 0; transform: translateY(20px);`.
3. Delay Utility Classes: Create classes `.delay-100` through `.delay-850` in increments of 50ms and 100ms.
4. Application: Wrap the HTML elements and apply these exact delays:
- Video container & Navbar: `delay-100`
- Version Pill: `delay-200`
- Headline: `delay-300`
- Subheadline: `delay-400`
- CTA Button: `delay-500`
- Corner Crosshairs & Trusted Text: `delay-600`
- Oracle Logo: `delay-[650ms]`
- Vercel Logo: `delay-[700ms]`
- cansaas Logo: `delay-[750ms]`
- GitHub Logo: `delay-[800ms]`
- Slack Logo: `delay-[850ms]`
Ensure every piece of content animates in beautifully sequentially upon page load.
1
14
K retweeted

Jun 9
Classic pixel art evolves in FINAL FANTASY RESONANCE, the first FINAL FANTASY in HD-2D. With dynamic camera angles, pixelized 3D models, and a visually striking world, embark on a adventure to uncover the truth behind a force that threatens your world.
15
83
1,153
292,568

Hello everyone Meet a communityFollow medriven pixel pusher engineering DeFi Keep pushing forward 💡

Greetings friends Introducing an selfLet's collaboratetaught pixel pusher who loves Backend Let's ship together 🔥
1
Little Hypno Doll retweeted

feeling 𝐑𝐄𝐀𝐋𝐋𝐘 lazy & want a pixel finsub to freeload off as I goon & play videogames all night 👾
While you're at it, $end for a domme in my name so you 𝐍𝐄𝐕𝐄𝐑 get to talk to her cuck, only me 💜
4
10
1,084