
Devrel @Taipy | Love to share content around Python, DataScience , Open-Source and Tech stuff in general.
Joined December 2022
- Tweets 136
- Following 185
- Followers 44
- Likes 471
18 Photos and videos


Marine Gosselin retweeted

3 May 2024
I love #swag and #Taipy knows it 🤩 Thanks for this wonderful bag filled with goodies 🥳 #python #fullstack #gui #devrel cc @Taipy_io @themaringoss @Rymguerbi

3
3
238
Marine Gosselin retweeted

2 Dec 2023
📛 taipy
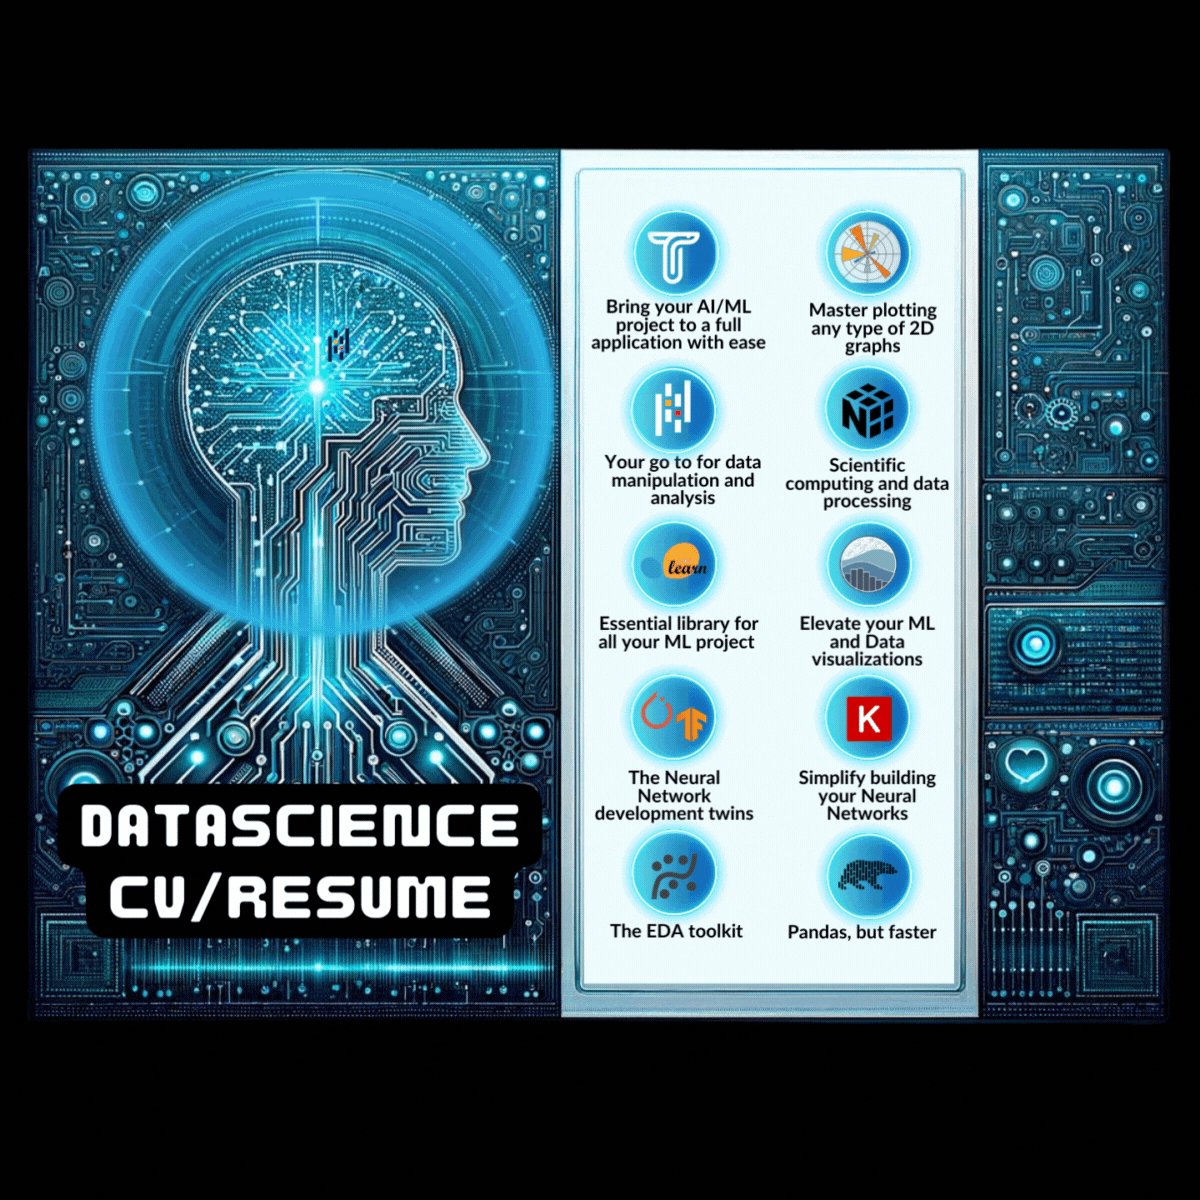
🧠 Taipy is an open-source Python library for building web applications, swiftly transforming data and AI algorithms into production-ready apps.
🛠️ @taipy_io
💻 Python
⭐ 1585
🍴 89
🔗 github.com/Avaiga/taipy
3
2
175

11 Mar 2024
Super proud of this achievement! 🚀
6 Mar 2024

7.0K ⭐️ Taipy: turns Data & AI algorithms into production-ready web apps in no time. ⚡️@Taipy_io
star-history.com/#Avaiga/tai…
#starhistory #GitHub #OpenSource #python

1
60
Marine Gosselin retweeted

6 Mar 2024
7.0K ⭐️ Taipy: turns Data & AI algorithms into production-ready web apps in no time. ⚡️@Taipy_io
star-history.com/#Avaiga/tai…
#starhistory #GitHub #OpenSource #python
2
5
396
Marine Gosselin retweeted

28 Feb 2024
I was bored building APIs until this application hit my plate.
5 lessons I learned from building a Data-Driven application.
The Request:
Build an application to help customers visualize their data. It has to be fast and follow our design guidelines.
1. Enterprise Data platforms are expensive; look around.
The obvious solution was to look for a platform to connect to the data and build some visualizations.
I looked at some enterprise solutions, and GOD, they cost an arm and a leg.
I needed a plan B, so I took a deep dive into the open-source pool. (This pays off 90% of the time)
I found two main options: Taipy and Streamlit.
2. Data Integration doesn’t need to be painful.
One of the first real headaches was trying to get all sorts of data to play nice together.
There was no unified view. The data live across different formats and Systems.
That was when I discovered Taipy’s data dashboards. Now, I can bring together data from different sources:
- Databases
- APIs
- Real-time feeds
Also, Data Dashboards serve to simplify and make complex data visually attractive.
3. Staring at numbers is not enough.
Users want to ask "what if" and watch the data come alive with answers.
I need to develop something interactive that can provide quick responses.
Again, Taipy provided more out-of-the-box features for creating interactive GUIs without sacrificing simplicity.
4. Your users deserve nothing less than the best UI.
Taipy's capability to build responsive and interactive graphical GUI was a game-changer.
Streamlit renders all the graphical components again when a user interacts.
But, when the user interacts with a visual element, Taipy triggers callbacks based on the action or change in the GUI.
This was a decision maker; check how smooth the transition is on the image.
5. Users want data, but only if it is fast.
No matter how fun your spinner animation is, nobody wants to spend time looking at it.
As the platform grew, so did the concern about its scalability.
Taipy's scalable architecture allowed me to manage the growing demands of the platform.
The open-source community came through, and I can’t sing Taipy’s praises enough for making my job much easier.
Give them a star here: github.com/Avaiga/taipy
And start today by typing: $ pip install taipy
Big thanks to Taipy for supporting this post.
10
39
216
24,082

Python is the best language in the world.
Today, you can build AI and data applications using Python alone! No HTML or JavaScript necessary.
Take a look at Taipy, an open-source Python library to build end-to-end production applications.
Star their repository: github.com/Avaiga/taipy
I recorded a quick video showing how to build a simple chat interface to talk to OpenAI GPT-3.5 using Taipy alone.
Something important to keep in mind:
Taipy's goal is not to replace web developers but to provide an alternative to those who need to build applications without web experience.
If you are a data scientist or someone dealing with data, Taipy will simplify your life considerably.
Thanks to the team behind Taipy for collaborating with me on this post.
Here is a link to the full demo. Download this code and run it. It takes 30 seconds:
github.com/Avaiga/demo-llm-c….
69
466
2,714
359,014
Marine Gosselin retweeted

18 Feb 2024
9
9
277

Marine Gosselin retweeted
15 Feb 2024
I built my first AI project on a weekend.
Here are the 7 steps I followed:
I want to create a personal assistant. So I sat down and wrote what I needed:
- Something that can write text like humans. It sounds like a job for an LLM.
- A UI that allows the user to ask questions and the chatbot to respond.
- A simple way to publish this application.
You can’t train an LLM on a weekend, so borrow one; I used OpenAI, but you can use your own fine-tuned LLMs.
Now, for the fun parts, the UI, the code, and the hosting, I used Taipy.
Taipy is an open-source Python library designed for easy development of data-driven web applications.
It covers both the front-end and back-end, allowing users to develop the whole back-end of an application, model dataflows, and pipelines.
It was perfect for my weekend idea (and probably for many of your ideas, too).
With Taipy
You can build the whole back-end and the front-end without knowing much about HTML, CSS, and JS.
You have access to Taipy Cloud; designed to simplify web application development and deployment.
Everything starts here: ‘$ pip install taipy’
From then 7 simple steps:
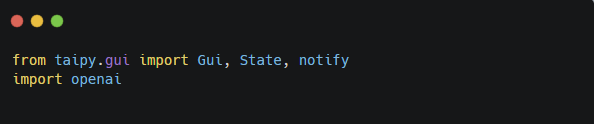
1. Add your imports
2. Write the request and the send_message functions.
The “request” function takes the user message as input and returns the response from the LLM.
The “send_message ” function adds the user's message to the context, sends it to the API, and then displays the conversation.
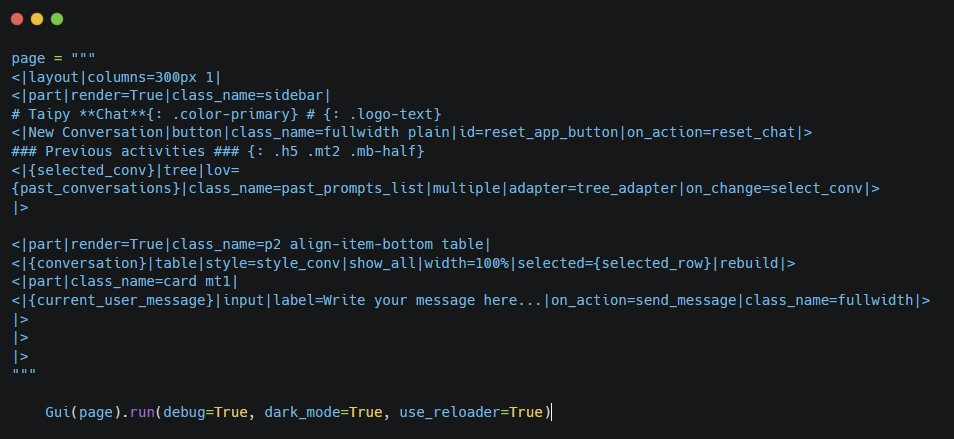
3. Now, the only missing piece was the UI.
Taipy has a way to define pages by using Markdown strings. It cannot be easier.
I used a table to display the conversation and input so the user could type their message.
When the user presses enter, the UI calls the send_message() function.
4. I added some styling, and … I have my own Personal Assistant.
5. From here, I just connected to Taipy Cloud, clicked on "Add Machine," filled in the fields, and added a new Application.
All this took me less than 5 minutes.
6. There is only one configuration pending.
Adding my environment variable to hold the OpenAI’s key. (Keep your keys out of source code)
7. Now for the final step: zip all files and upload, and click "Deploy app."
Wait for the deployment to complete, and share the link with the people you want to impress.
Taipy Platform Also:
- It helps you manage data flows and optimizes task performance and pipelines.
- It provides a Rest API.
- Includes a cache system that enables it to skip repetitive tasks.
- Supports Authentication/Authorization
Why did I choose Taipy over Streamlit?
- It is designed for both prototyping and production.
- It can scale.
- It provides much better performance.
- It supports large data.
- A lot of UI components.
- It is truly multi-user and provides for different user profiles.
Open-source AI is taking over the world, and Taipy is part of it.
Give them a star: github.com/Avaiga/taipy
Disclaimer: This post was sponsored by Taipy.


11
41
163
16,540
Python is the one language to rule them all.
We are building the future of humanity using Python. No other language will give you a better bang for your buck.
Today, you can build AI and data applications using Python alone!
Take a look at Taipy, an open-source Python library to build end-to-end production applications:
github.com/Avaiga/taipy
Star the repo!
Taipy is similar to Steamlit but designed to build production-ready applications. Some of the differences:
• Taipy scales as more users hit your application
• Taipy can work with huge datasets
• Taipy is multi-user and can manage different user profiles
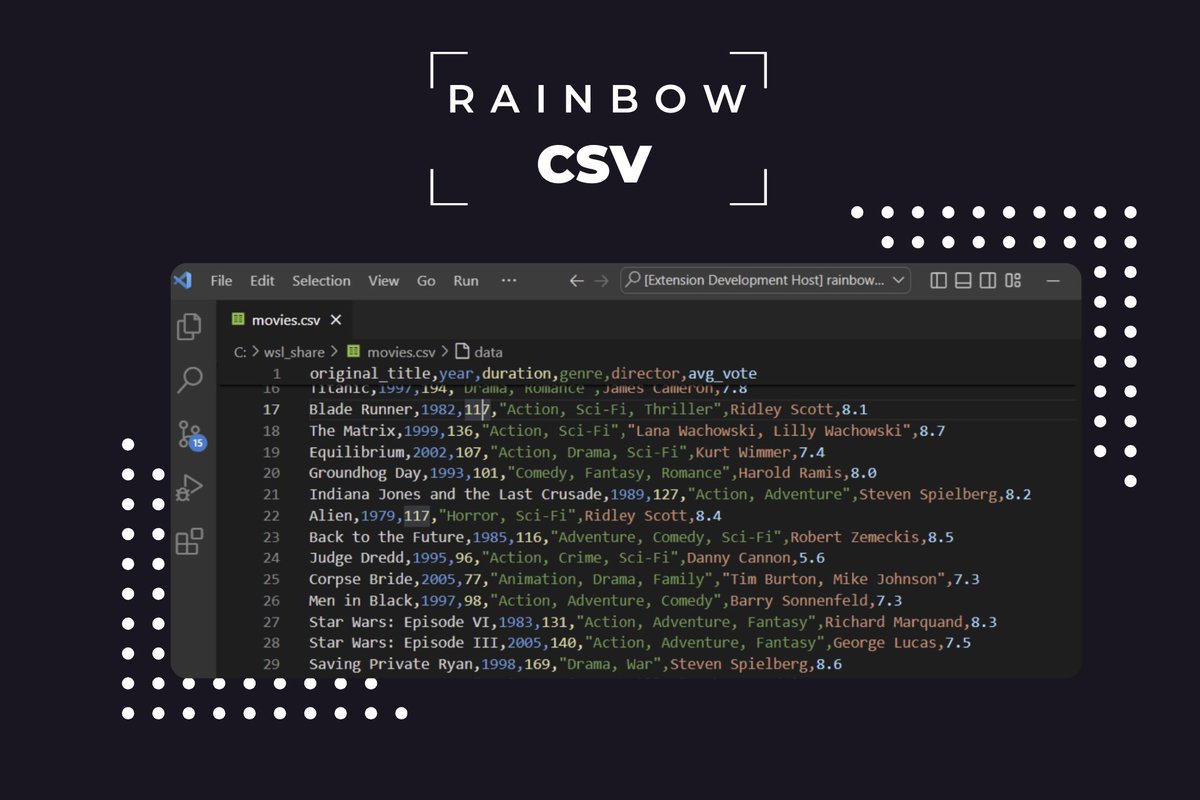
Taipy has a library of pre-built components for interacting with data pipelines, including visualization and management tools. It also supports tools for versioning and pipeline orchestration.
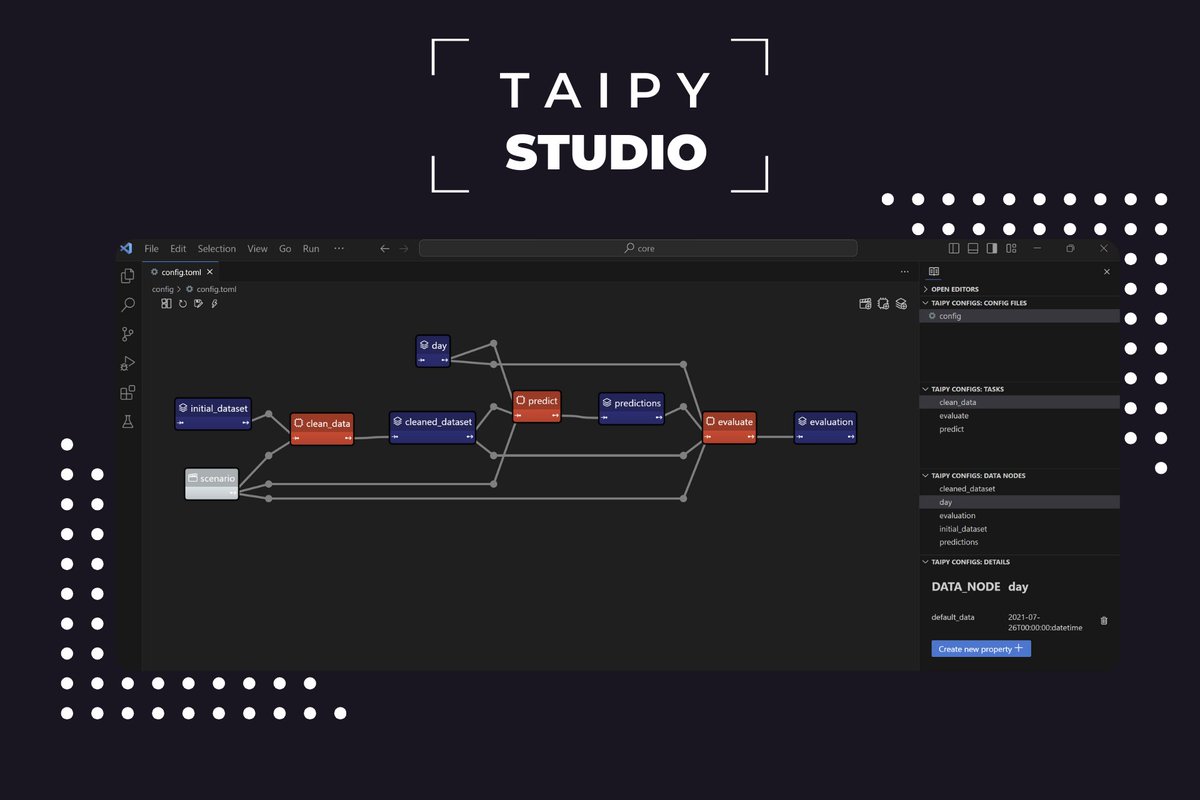
It's open-source and comes with a Visual Studio Code extension that allows you to start without writing any code.
Taipy's goal is not to replace web developers but to provide an alternative to those who need to build applications without web experience. If you are a data scientist or someone dealing with data, Taipy will simplify your life considerably.
Thanks to the team behind Taipy for collaborating with me on this post.
Work smarter, not harder.
35
129
869
128,985
You can build a full-stack application using Python alone.
You don't need JavaScript, CSS, or HTML.
If you are a data scientist or someone dealing with data, here is an open-source Python library that will let you build end-to-end production applications without worrying about learning web development:
github.com/Avaiga/taipy
Star the repo!
Taipy works with Python. It has a library of pre-built components to interact with data pipelines, including visualization and management tools. It supports tools for versioning and pipeline orchestration.
It's open-source and comes with a Visual Studio Code extension that will get you started without writing any code.
Thanks to the team behind Taipy for collaborating with me on this post.
Adding this to your tool belt is one of the easiest ways to improve your Data Science career in 2024.

66
374
1,987
264,688
16 Jan 2024
New to Python? Here are my top picks to learn Python 🐍 by doing:
1
28
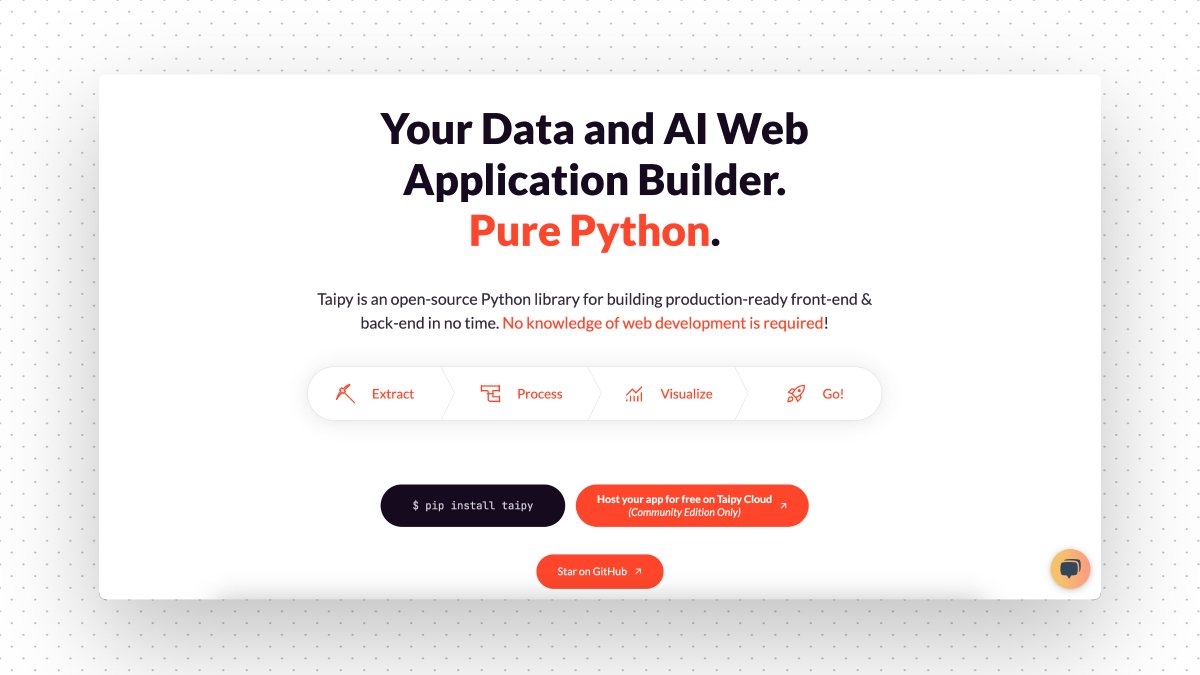
1. Taipy
Taipy is an open-source Python library for building production-ready front-end & back-end in no time.
No knowledge of web development is required!
Give it a star on GitHub!
🔗 github.com/Avaiga/taipy
1
7
50
4,999
9 Jan 2024
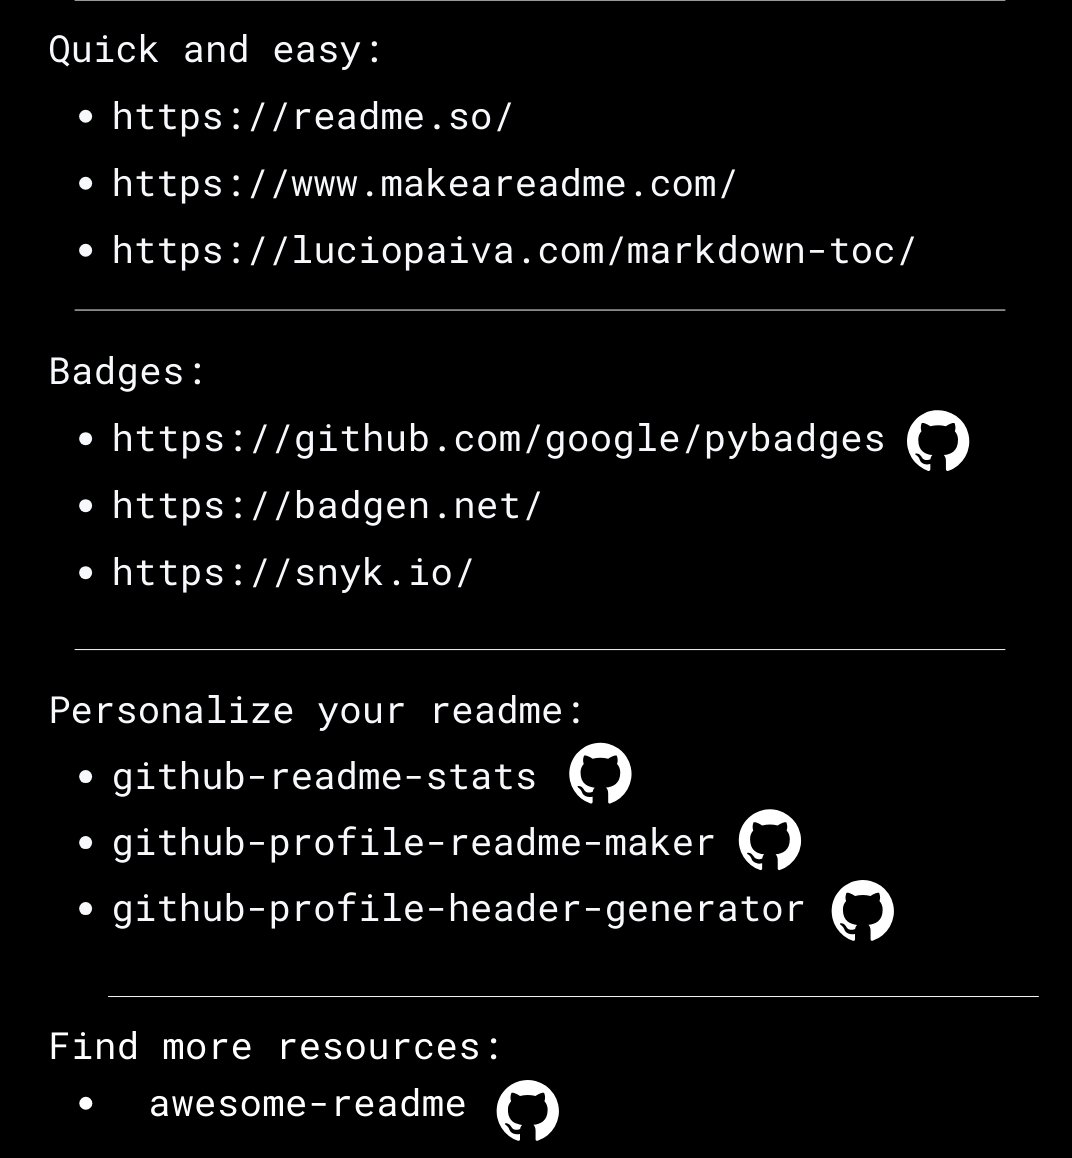
✨2024 Resolution: Be more Open-Source centric ✨
Here are some open-source alternatives that I've been using
1
1
1
91
9 Jan 2024
😴Common Room /😃 @CrowdDotDev : Whether it’s project management, funding, or collaboration, crow.dev can’t be overlooked to build and develop online communities.
1
1
1
87