
#cyberwolf3000 | Startup Wolf hunts Unicorns 🦄 Founders Raise $ 💵 ? | Learn From YCombinator B4 they Raise | subscribe 👉👉thefounderspack.beehiiv.com
Joined June 2022
- Tweets 9,403
- Following 7,594
- Followers 17,019
- Likes 13,166
3,819 Photos and videos


Pinned Tweet

Apr 29
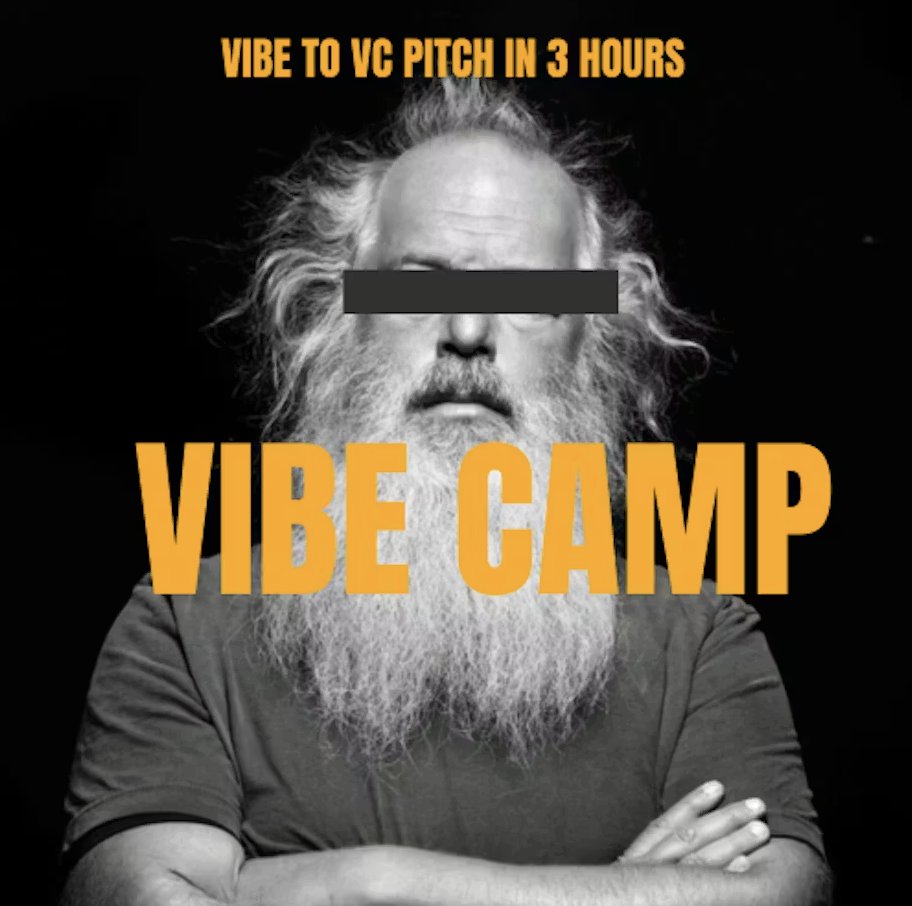
Hosting Vibe Camp
3 Hour AI Hackathon for NY TECH WEEK by a16z
RSVP Here: partiful.com/e/GR67mwEn2hFgp…
Wednesday June 3rd
@ Vitamin
168 N 1st St, Brooklyn, NY
Vibe Camp gives vibe coders 3 hours to make a startup from idea to vibe prototype and pitch to investors on their idea. Starts with a 1 minute pitch, teams form, vibe coding starts, then vibe campers present their results to 3 VCs or LP investors.
This event is a part of #NYTechWeek—a week of events hosted by VCs and startups to bring together the tech ecosystem. Learn more at tech-week.com.
@techweek
3
3
319
Founders Pack retweeted

Kling AI just recreated a 1970s Shaw Brothers wuxia scene on a snowy mountain pass 🏔️
A lone martial artist. A roast goose. The quiet humanity between action beats.
This is the texture of classic kung fu cinema — now generatable by anyone with a prompt. At GenFlick, we're watching this gap close every day. The distance between "I have an idea" and "it's on screen" has never been shorter.
🎬 What era of cinema would YOU want to bring back with AI?
2
3
56
Founders Pack retweeted
Dreamina Seedance 2.0 Mini drops TODAY ⚡
ByteDance is making premium AI animation affordable. Near-Seedance 2.0 quality at a fraction of the cost.
At GenFlick, we've been pushing the boundaries of AI filmmaking every day — and this changes the game. When access to top-tier tools drops this low, the only thing standing between your short film and Hollywood is... you.
The democratization of cinema isn't coming. It's here.
We're already running Seedance workflows in our pipeline. If you're a creator sleeping on these tools, you're about to get left behind.
🎬 The era where anyone can make cinema-quality video — that's GenFlick's mission.
#GenFlick #AIFilmmaking #Dreamina #Seedance #FutureOfFilm
2
2
91
Founders Pack retweeted
Multi-model pipelines are how movies get made now 🎬
@aimikoda just showed the future: Midjourney → GPT Image 2 → Seedance 2.0 — three AI models working together to create a single cinematic sequence.
This is exactly the kind of pipeline we're running inside GenFlick. The future of filmmaking isn't one model — it's knowing which tool to use for each part of the shot.
Character design → storyboard → animation. Each model does what it does best.
What's your go-to AI filmmaking stack? 👇
1
2
3
129
Founders Pack retweeted
🔥 Seedance 2 just pulled off something INSANE — a full cinematic zombie summoning scene in the heart of Paris, with camera work that looks straight out of a $50M tentpole.
What we're watching:
• Cinematic push-in through empty Haussmann boulevards
• Volumetric fog and cold blue moonlight mixing with warm street lamps
• Hundreds of undead soldiers clawing out of cracked asphalt
• A dramatic crane pull-back revealing the Eiffel Tower silhouette
This is what AI filmmaking looks like in 2026. You don't need a $100M budget. You need vision and the right tools.
At GenFlick, this is exactly the kind of cinematic storytelling we're building with AI. The future of movies isn't coming — it's already here, and you can make it with nothing but a prompt and a dream.
Credits: @CharaspowerAI 🎥 Made with Seedance 2 Hailuo
1
2
2
160
Founders Pack retweeted

Jun 13
I think possibly the best thing about Elon Musk becoming a trillionaire is how angry it makes a bunch of losers who've never built a thing in their lives.
1,998
8,861
85,563
1,041,585
Founders Pack retweeted
Testing Twitter post via Zernio Seedance 2.0 AI ice skating demo.
2
2
150
Hosting Vibe Camp for @Techweek_ NY on Wed!
Almost full couple spots open
- make a 1 minute pitch
- vibe code for 2 hours
- demo for judges
Partiful link in first comment
#nytechweek
#techweekny
@TechweekNYC
#a16z
1
3
276
141
Founders Pack retweeted
A Chinese lab just dropped a nuke on the entire video production industry.
Upload a single photo and an audio clip
Seconds later, you get a hyper-realistic avatar
Speaking in perfect sync. Lip movements, expressions, head motion. All of it.
And it’s completely open source.
What used to require agencies, crews, cameras, lighting, and weeks of editing now takes one repo and a few clicks.
Meet LongCat-Avatar
12
66
420
36,236
Founders Pack retweeted
A new way to control AI drone footage! -->
Draw lines directly on the image, and let the AI generate realistic drone shots following your path.
A creator generated this FPV-style aerial shot of Guangzhou’s central axis:
Low-altitude pass through Huacheng Square → Skim over buildings and ascend
→ Thread through rooftop structures
→ Circle and dive around skyscrapers
→ Skim across the Pearl River
→ Surge toward the Canton Tower
→ Circle the tower and climb
Urban aerials, scenic fly-throughs, real estate promos, building showcase videos — everything can be done this way!
Just draw the route, let the AI fly it for you, and get professional aerial footage for free.
Step 1: Draw red lines on the image to define the camera path
A few important tips:
1. Match the length and complexity of your red line to the desired video duration... otherwise the video may finish before the camera completes the full path.
2. Draw the red line slightly thicker to help the AI model recognize it more easily.
3. Make turns clear and smooth, and add a small arrow at the end to indicate the final camera direction.
4. For complex routes, it’s best to split them into multiple segments, generate them separately, and stitch the clips together later.
Step 2: Put the storyboard diagram prompt into Seedance
You can use this prompt template:
"Please erase the red lines, arrows, and all auxiliary markers.
The red lines and arrows are only for reference as camera movement paths and must not appear in the final footage.
The shot is presented in a first-person FPV perspective, ultra-high-speed, cinematic, one continuous take, strictly following the red path in the image
Do not deviate, do not skip steps, do not simplify the route.
The shot starts from [Starting Point], passes through [Node 1], then [Node 2], then to [Node 3], and finally reaches [Endpoint Subject] and completes [Closing Action].
The visuals require hyper-realism, smooth and stable motion, strong sense of speed, clear and continuous spatial flow.... do not repeat buildings, do not distort, no text, no watermarks."
Just replace the placeholders
[Starting Point / Node / Endpoint / Closing Action] with your own scene elements.
Step 3: Perform post-editing as needed (optional)
If you want to make the pacing more dynamic, you can merge multiple clips into a single aerial promotional video that’s over 15 seconds long.
In this step, you can:
1. Select the smoothest shot segments and stitch them together
2. Add BGM to enhance the sense of rhythm and atmosphere
3. Do basic color grading to unify the sky, contrast, and overall look
4. Appropriately speed up or slow down parts to optimize the shot pacing
If this inspires you, follow @genflickmovies and @MrLarus
@build4growthsv @thefounderspack @myfounderspack
3
4
26
2,874
Founders Pack retweeted
Apr 29
Hosting Vibe Camp
3 Hour AI Hackathon for NY TECH WEEK by a16z
RSVP Here: partiful.com/e/GR67mwEn2hFgp…
Wednesday June 3rd
@ Vitamin
168 N 1st St, Brooklyn, NY
Vibe Camp gives vibe coders 3 hours to make a startup from idea to vibe prototype and pitch to investors on their idea. Starts with a 1 minute pitch, teams form, vibe coding starts, then vibe campers present their results to 3 VCs or LP investors.
This event is a part of #NYTechWeek—a week of events hosted by VCs and startups to bring together the tech ecosystem. Learn more at tech-week.com.
@techweek
3
3
319
Founders Pack retweeted
This isn’t a demo anymore.
You can play it right now.
A Japanese dev @ds_nakajima just dropped a full pixel art platformer running entirely inside a Claude Artifact.
Mountains, waterfalls, floating islands, enemies, coins, lives, score, and timer — all there.
You move, jump on clouds, and attack. It actually responds to your keystrokes.
Built with @AnthropicAI 's @claudeai #Opus 4.8.
The gap between “I have an idea” and “here’s a playable game” just vanished.
@thefounderspack
7
9
75
10,400
May 14
Why are the most useless people in positions of power

Sanders and AOC introduced a bill to pause ALL AI data center construction. 300 local bills filed. Half of planned 2026 data centers facing delays or cancellation. Each one brings billions to local economies.
The people who say they want American jobs are trying to block the biggest job creation engine since the interstate highway system.

93
Founders Pack retweeted

Apr 22
believe it or not, the world's entire population can fit inside this cube in new york city
that means we can move everyone here and use the rest of the planet to build data centers to run agentic workflows
seems like a no brainer to me
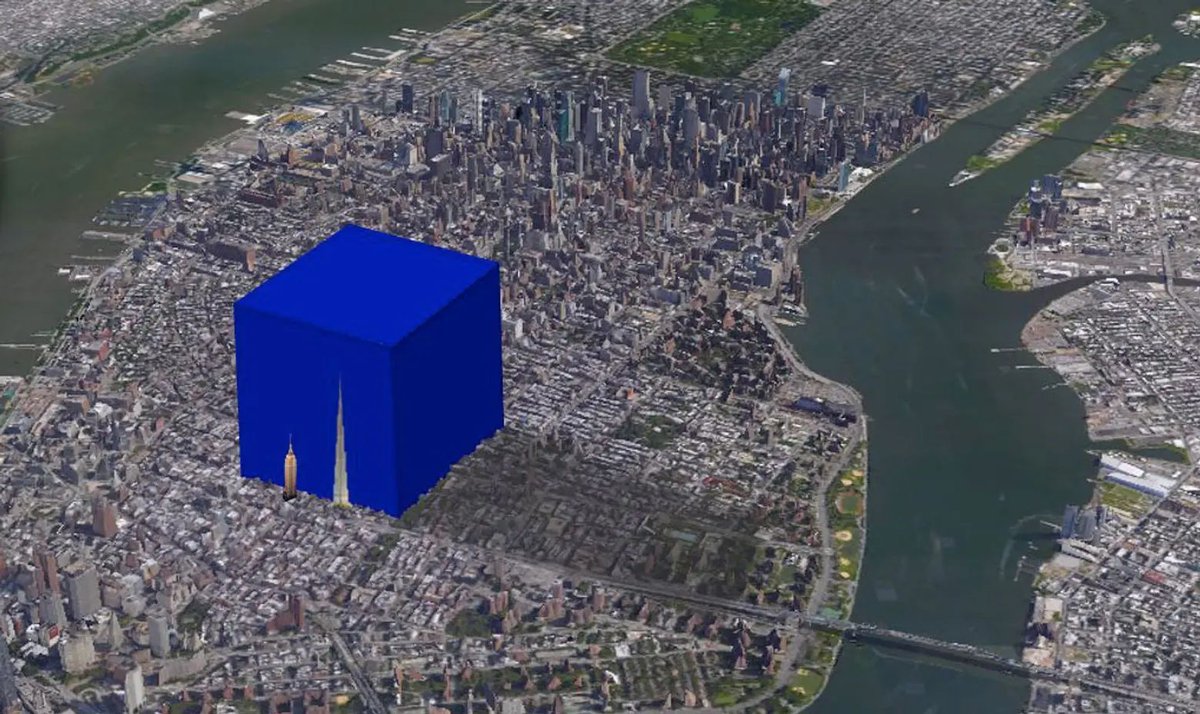
Community note
This user removed the watermark from this image. This image was originally created by @waitbutwhy
waitbutwhy.com
x.com/waitbutwhy/sta…
710
2,152
59,789
2,339,124