
18 Mar 2025
あっているのかあっていないのか全く不明な粗いやり方の流れはこちら
pip install requirements.txtとgithubのガイドに書いてあるのにないという謎の構成
●1 MCP設定とCursorBlenderMCPで3Dモデル生成
1 git clone
github.com/VedantRGosavi/UE5…
2 cd UE5-MCP
3 仮想環境に入る(python -m venv venv;source venv/bin/activate)
4 pip install numpy scipy pillow requests openai unrealcv
5 .mcpディレクトリをホームディレクトリに作成
mkdir -p ~/.mcp
6 設定ファイルを作成 blender mcp
touch ~/.mcp/blender_mcp_config.json
{
"ai_enabled": true,
"default_export_format": "fbx",
"logging_level": "INFO",
"auto_update": true,
"scene_generation": {
"default_style": "realistic",
"terrain_detail": "high",
"object_variation": true
},
"asset_processing": {
"texture_resolution": "4K",
"lod_levels": 3,
"batch_processing": true
},
"ai_integration": {
"provider": "openai",
"api_key": "your-api-key",
"ai_suggestions": true
}
}
7 設定ファイルを作成 ue5 mcp
touch ~/.mcp/ue5_mcp_config.json
{
"ai_enabled": true,
"default_export_format": "fbx",
"logging_level": "INFO",
"auto_update": true,
"level_design": {
"default_terrain_size": [1000, 1000],
"auto_populate": true,
"npc_spawn_density": 0.5
},
"performance": {
"dynamic_lighting": false,
"max_polycount": 500000,
"physics_enabled": true
},
"ai_integration": {
"provider": "openai",
"api_key": "your-api-key",
"ai_suggestions": true
}
}
8 Blender起動してStart MCPをクリックして起動
(あらかじめBlenderMCPをインストールしておく)
9 CursorのBlenderMCPを呼び出してから、下記コマンドを入力
generate_hyper3d_model_via_text("A standing human character in casual clothes")
(fal.aiをBlenderMCP連携の上で)
●2 UEにプラグインインストール
(UnrealCVはwindowsのみっぽい macだとビルドエラーだった)
編集 > プラグイン > アクティブにする
- Python Editor Script Plugin
- Procedural Content Generation (PCG) Framework
MCPにUE5のプロジェクトパスを聞かれるので伝える
プロジェクトパスはここ
/Users/ユーザー名/Documents/Unreal\ Projects/UE5Blender
UE5の該当プロジェクト起動してツール > Python スクリプトを実行
1
2
10
816

13 Sep 2024
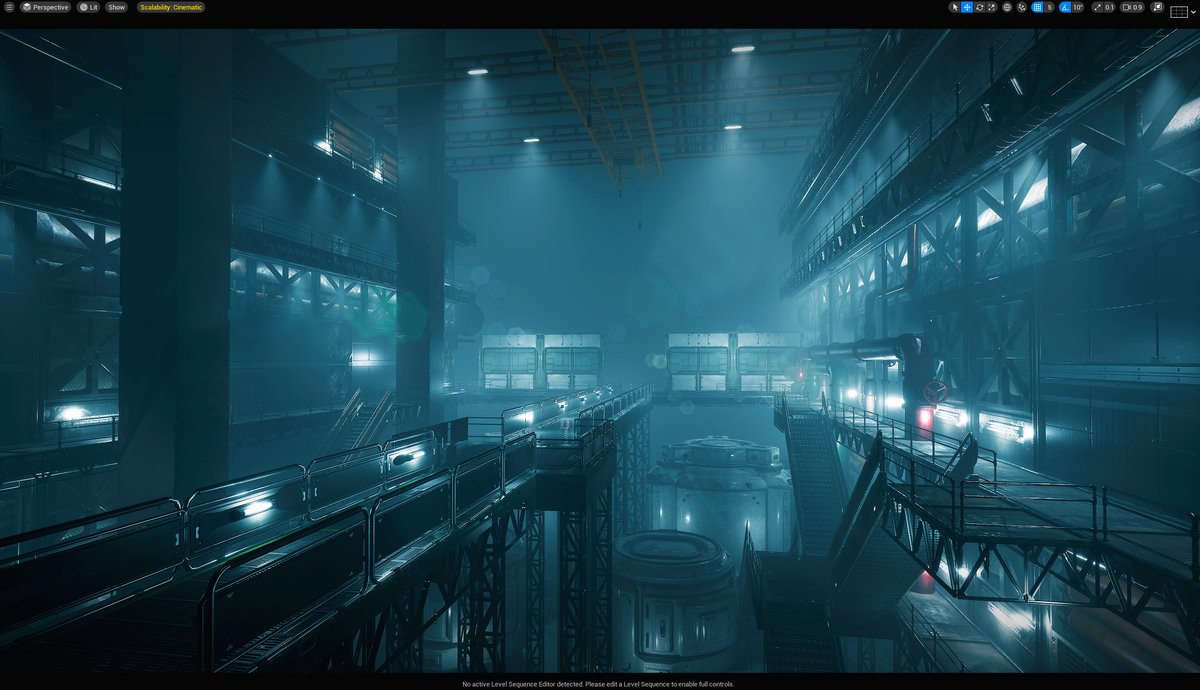
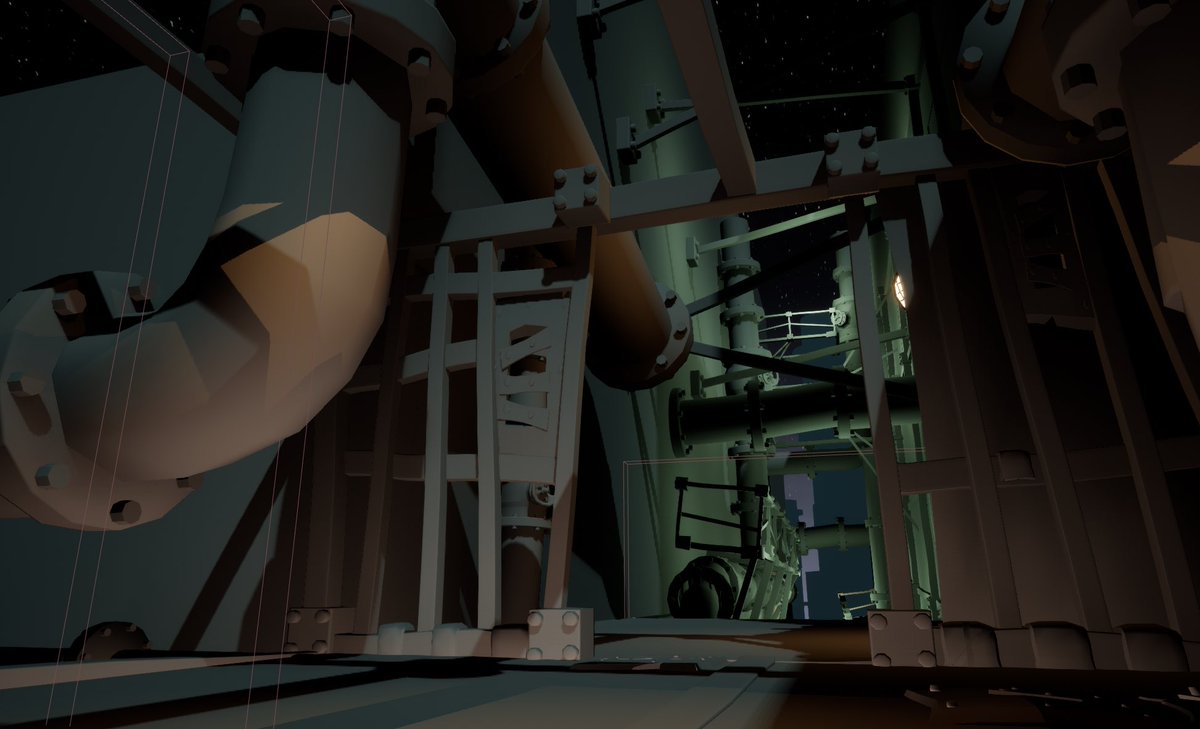
The fog and post-processing have made it look pretty good.😆
I think it will look even better if I adjust it in DaVinci Resolve.🎞️
#blender #B3D #RBDLab #UE5 #background #level_design
2
2
10
516
9 Sep 2024
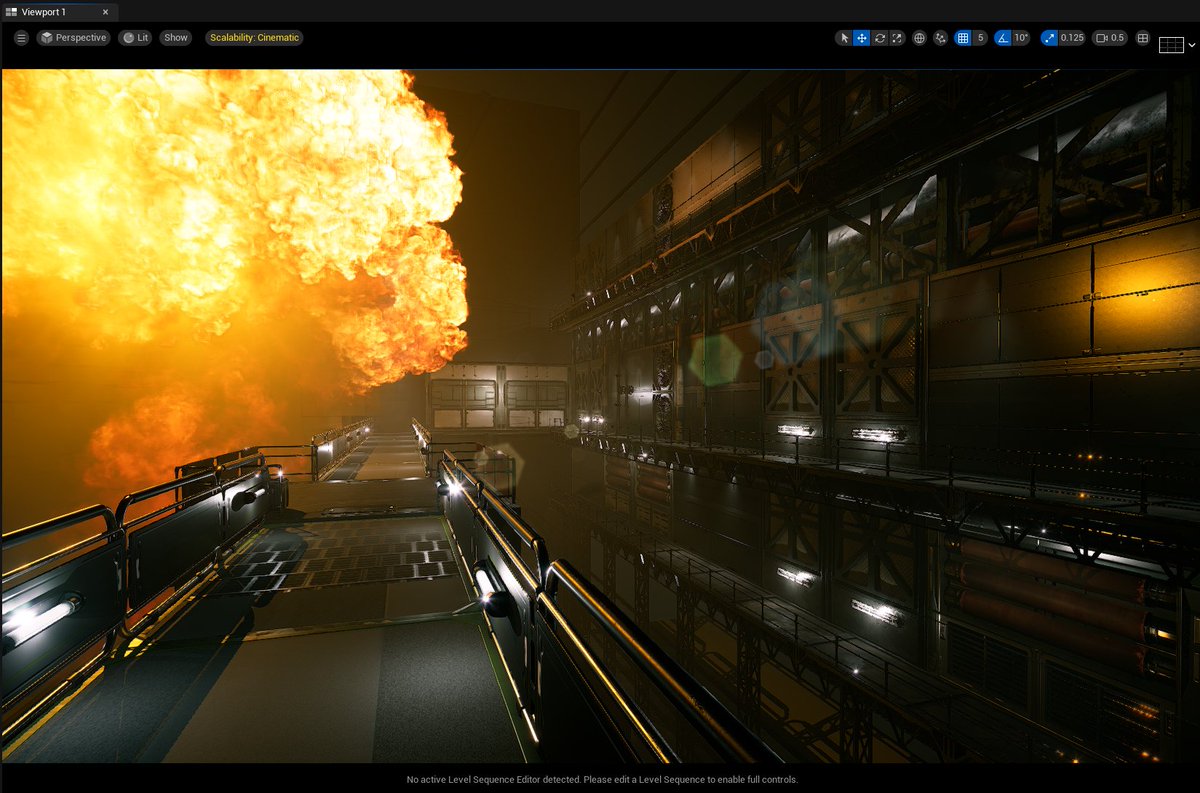
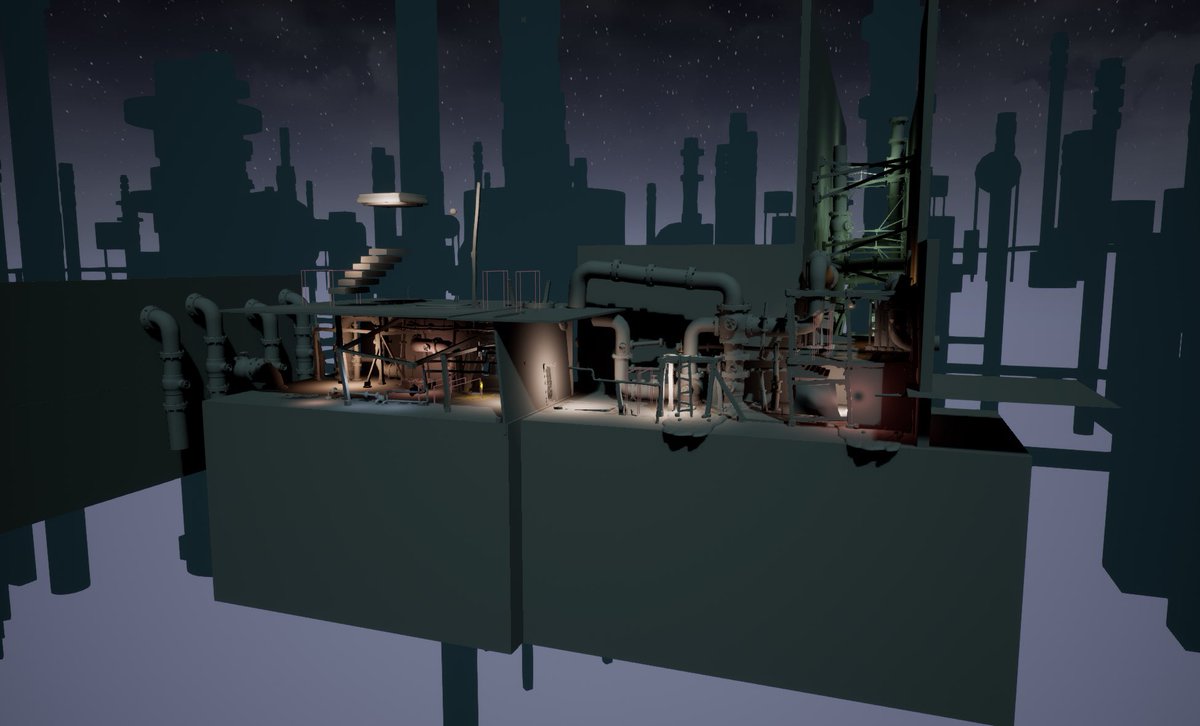
It's fun to do environmental level design.😊
I can't wait to blow this thing up with an explosion.💥
#blender #B3D #RBDLab #UE5 #background #level_design
1
3
314
7 Sep 2024
The long steel beams are also nicely crumpled and bent.👍
I will do the same for the other FX objects to make them more complex.☺️
#blender #B3D #RBDLab #UE5 #background #level_design
1
1
4
336
7 Sep 2024
I was testing the bending of steel beams.🎢
RBD Lab's MetalSoft was difficult to understand because it was difficult to adjust constraints.🛠️
Now it's time to bring together all the knowledge I have gained so far!😄
#blender #B3D #RBDLab #UE5 #background #level_design
1
2
6
386
3 Sep 2024
It's amazing to be able to preview such realistic effects in real time.😮
I think UE5 is the most powerful movie shooting tool.😄
#blender #B3D #RBDLab #UE5 #background #level_design
2
8
397
3 Sep 2024

4
283
2 Sep 2024
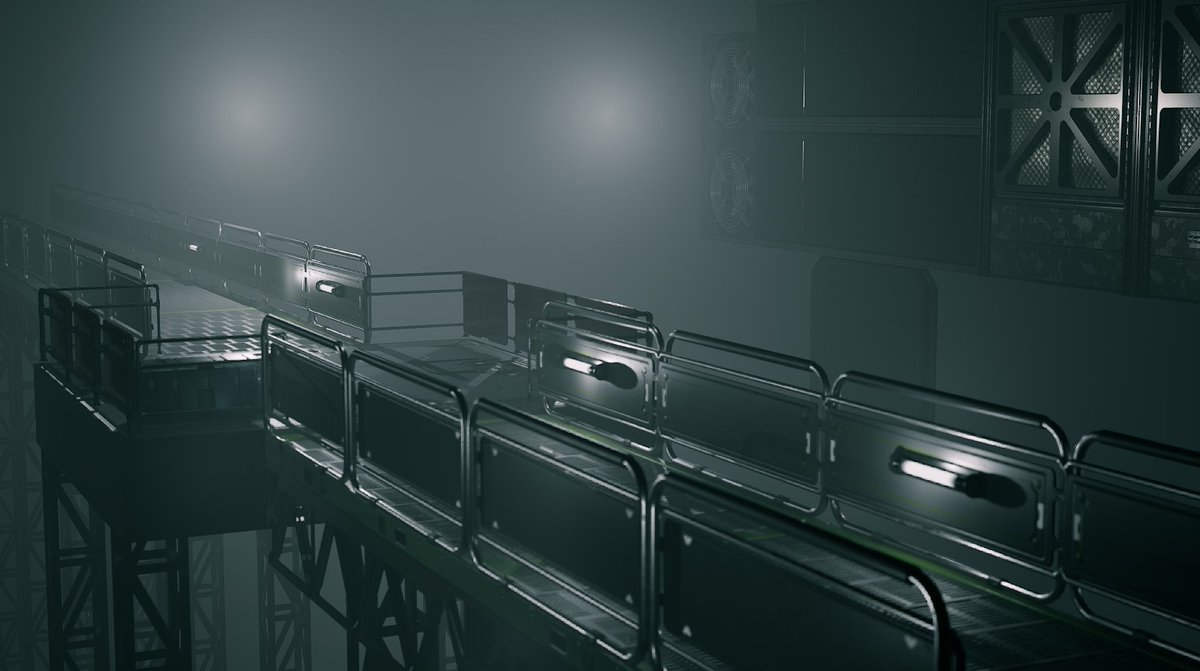
I'm using UE5 to temporarily place the background set🏭
After that, I'll make it crumple, make it bend on impact, or blow it to pieces with an explosion.💥🌋
#blender #B3D #RBDLab #UE5 #background #level_design
1
1
5
344

3 Mar 2024
1
3
64

8 Dec 2023
Behind the scenes 🎥 in #level_design our #game
One of the most difficult tasks for me is translating the game idea 👾into reality, and this is my job🕹️
#myart
#gameindustry
#gameawards
#gamedevlopment
1
4
592

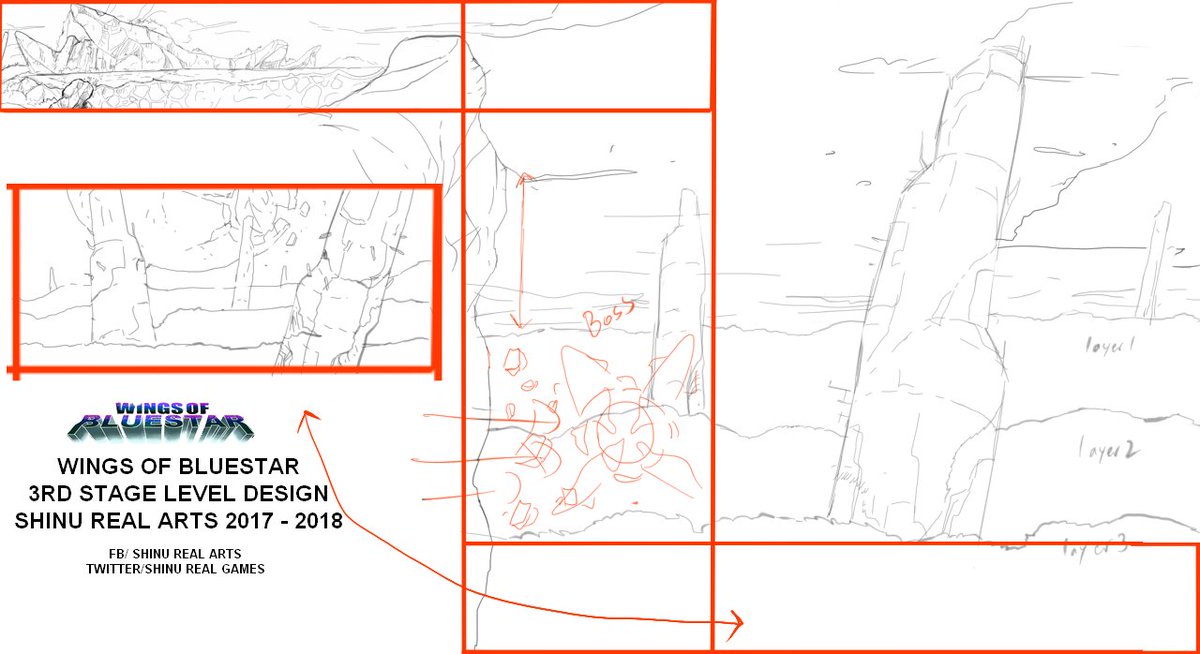
12 Mar 2023
5
139

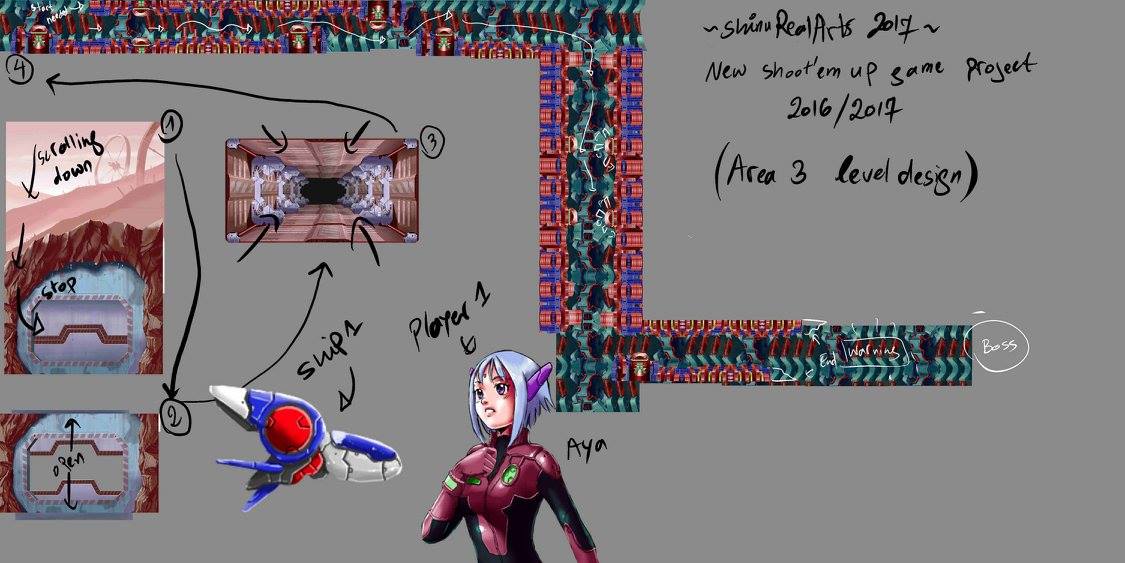
26 Jun 2022
Something else I'm starting to work on
#leveldesign #level_design #gamedev #gamedeveloper #gamedesign #source #sourceengine #hammer #hammereditor #leveldesigner

1
2

8 Mar 2021
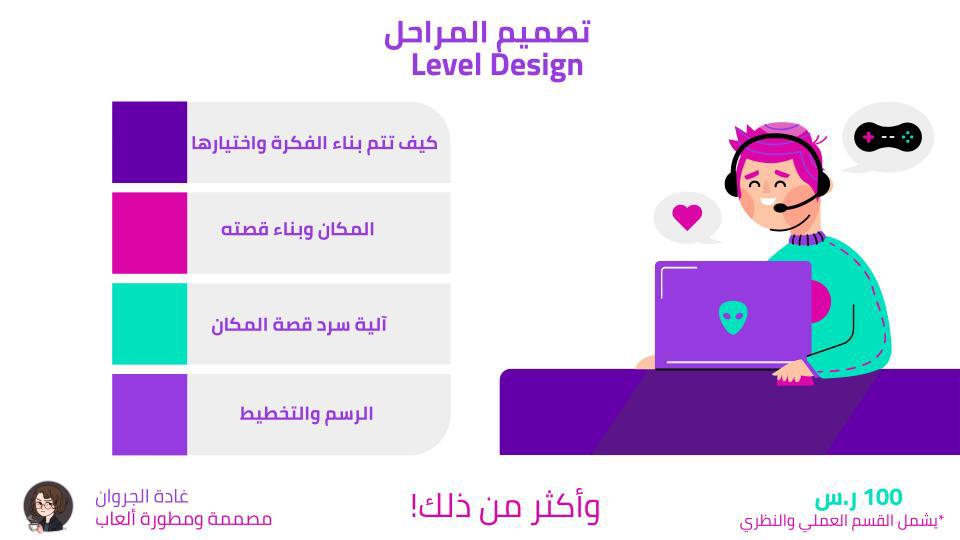
ورشة تصميم المراحل #Level_Design أساس مهم في #تطوير_الألعاب 👩💻
ماذا ستطبق ؟ من بناء الفكرة إلى التصميم 🥳
centillion-code.msaaq.net/co…
@ghadah_F_J
1
12
19

3 Dec 2020
دوستان من احساس میکنم برای یادگیری سریع Mobile F2P #level_design نیاز به منتور دارم.
اگر که کسی هست تا من رو برای یادگیری طراحی مرحله یاری کنه، این لطف رو در حق من بکنه و یک roadmap یا منابعی برای این موضوع به من بده که بتونم شروع کنم.
1
1
1

2 Sep 2020
Hope you love this landscape
For unknown game like always 😂
#gamedev #Unity2020 #landscape #artwork #level_design #2d #2danimation #2dgame

5
1 Sep 2020
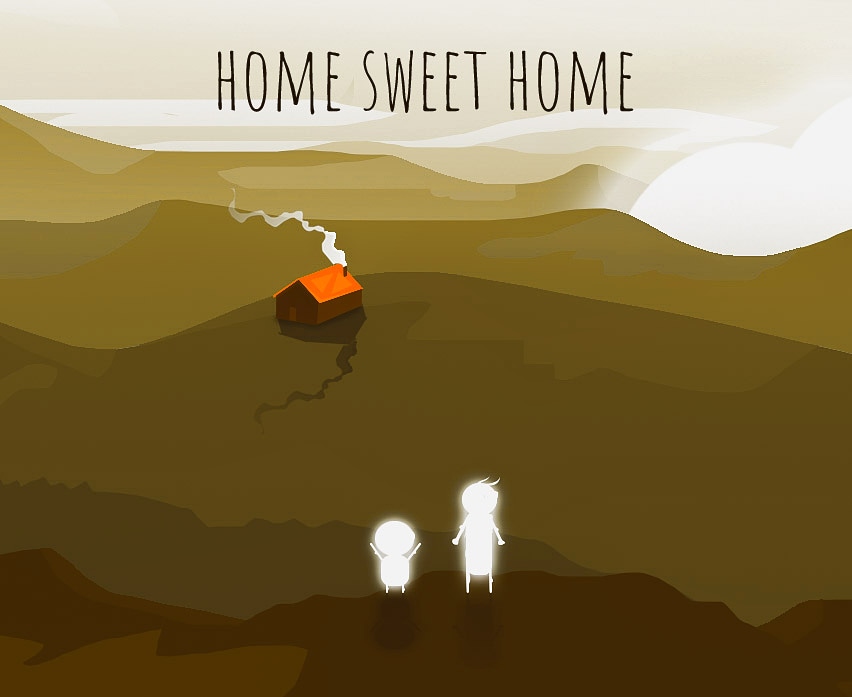
Home sweet home Random landscape from unknown game
😅
Tags : #game #game_dev #game_designer #gaming #videogames #landscape #2d_landscape #2D #2Dgame #indie_game #indie_dev #indie_developer #level_design
7

28 Oct 2019
We are ecstatic to announce the Express Newark Website, designed & developed by @level_design, was a recipient of @GDUSAmagazine's 2019 American Web Design Award selected from 2,000 entries worldwide.
Check out our website here!
expressnewark.org


3
5


5 Dec 2017
2
5
30 Oct 2017
3
12