

7 Oct 2025
📚 BUY YOUR FIRST BUILDING IN VEELIVE IN 3 SIMPLE STEPS!
New to metaverse? No panic! This guide will help you start earning tomorrow!
🚀 The whole process takes maximum 30 minutes:
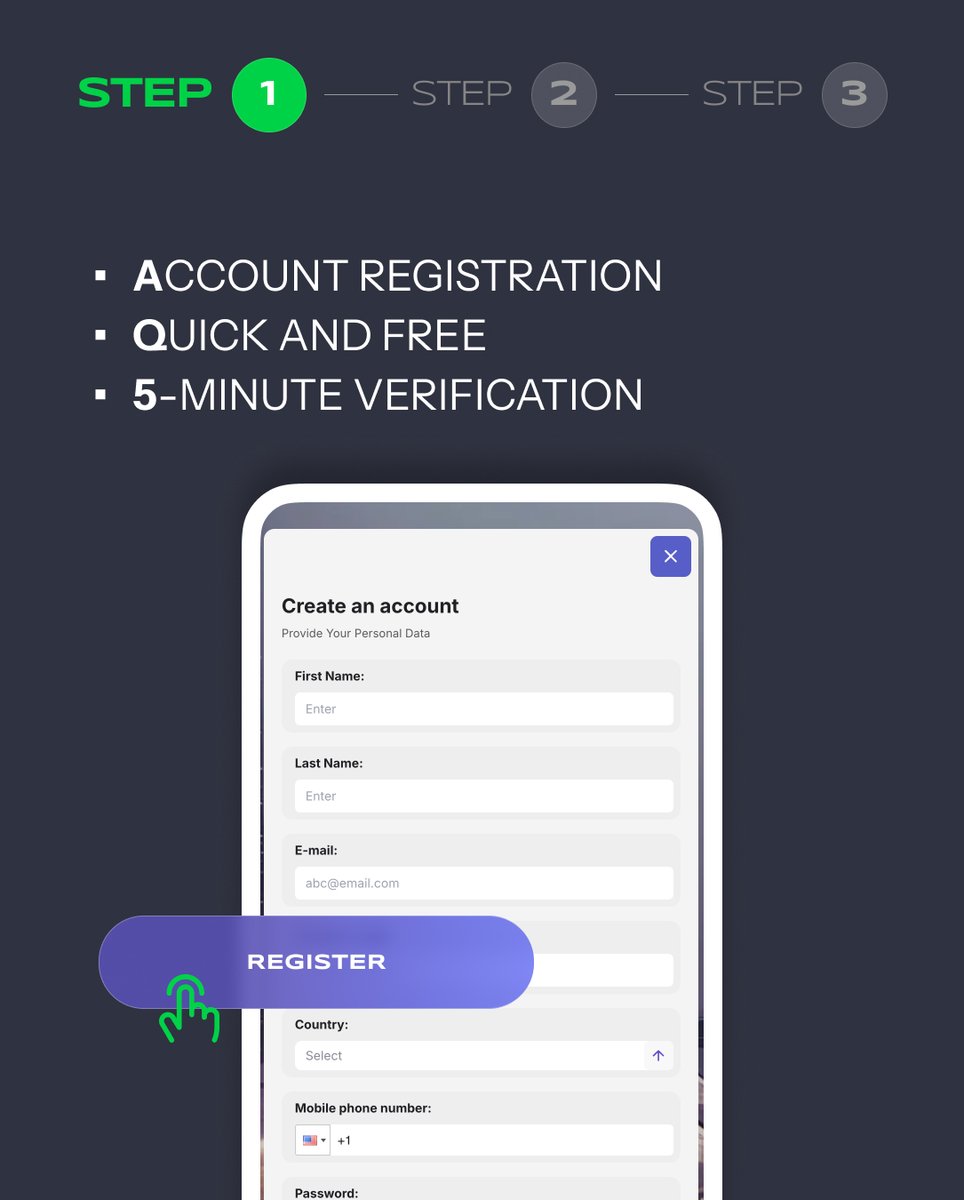
STEP 1: Create VeeLive account (5 min)
STEP 2: Explore available buildings (10 min)
STEP 3: Choose and buy first building (10 min)
Receive passive income and guaranteed fixed monthly return!
💡 Beginner lifehack: Start with Exclusive building for $250 or Basic building for $100 - minimum risk, maximum learning!
✅ After purchase you get:
-Immediate building access
-Automatic monthly payments
-Ability to rent out
-24/7 community support
🎯 Don't postpone until tomorrow what you can start today!
Go to bio link and take the first step to financial freedom! 👆 register.veelive.net/marketp…
#beginnerguide #veelive #firstbuilding #stepbystep #earningstart #simplesteps #beginnerinstructions #howtostart #education #tutorial #earningguide #easystart #accessibleexplanation #clearinstructions #startinginvestments #firststeps #startupstart #beginningjourney #simpleentry #quickstart #effectivelearning #practicalguide #clearalgorithm #stepbyplan #actioninstructions #successalgorithm #beginnerplan #noviceguide #methodology #educationalcontent


1
2
56

25 Apr 2025
To implement a Weather Widget using WidgetKit and SwiftUI, you'll want to set up a TimelineProvider that fetches weather data—typically using WeatherKit—and then updates the widget view with that info.
A simple approach is to create a Provider that uses WeatherService to fetch weather for a fixed location (since widgets can't access live location data dynamically), then pass that data into your TimelineEntry and SwiftUI view.
Here's a basic outline:
import WidgetKit
import SwiftUI
import WeatherKit
import CoreLocation
struct Provider: TimelineProvider {
func placeholder(in context: Context) -> SimpleEntry {
SimpleEntry(date: Date(), temp: "--")
}
func getSnapshot(in context: Context, completion: @escaping (SimpleEntry) -> ()) {
let entry = SimpleEntry(date: Date(), temp: "--")
completion(entry)
}
func getTimeline(in context: Context, completion: @escaping (Timeline<SimpleEntry>) -> ()) {
Task {
let nextUpdate = Date().addingTimeInterval(3600)
let sampleLocation = CLLocation(latitude: 51.5072, longitude: 0.1276) // London
do {
let weather = try await WeatherService.shared.weathe…(for: sampleLocation)
let temp = String(format: "%.0f°C", weather.currentWeather.temperature.converted(to: .celsius).value)
let entry = SimpleEntry(date: .now, temp: temp)
let timeline = Timeline(entries: [entry], policy: .after(nextUpdate))
completion(timeline)
} catch {
let entry = SimpleEntry(date: .now, temp: "--")
let timeline = Timeline(entries: [entry], policy: .after(nextUpdate))
completion(timeline)
}
}
}
}
struct SimpleEntry: TimelineEntry {
let date: Date
let temp: String
}
struct WeatherWidgetEntryView : View {
var entry: Provider.Entry
var body: some View {
Text(entry.temp)
.font(.largeTitle)
}
}
@main
struct WeatherWidget: Widget {
let kind: String = "WeatherWidget"
var body: some WidgetConfiguration {
StaticConfiguration(kind: kind, provider: Provider()) { entry in
WeatherWidgetEntryView(entry: entry)
}
.configurationDisplayName("Weather Widget")
.description("Shows the current temperature for a fixed location.")
.supportedFamilies([.systemSmall])
}
}
Make sure you add the WeatherKit capability to both your main app and the Widget Extension in Xcode and on the Apple Developer portal, or WeatherKit calls won't work in the widget.
If you want to use the user's current location, you'll need to pass it from the main app to the widget, since widgets can't request location directly.
1
29

12 Sep 2023
私が依頼を受けて作成した、EAとインジケーターです。
自動売買EAではなく裁量補助になります。
ほぼ完成していて、近々ゴゴジャンさんで販売される予定です。
#SimpleEntry #SimpleLimit
36
11,234